For starters, if Zoom doesn’t have your system’s camera and mic access, you’ll not be able to turn on your video or use your microphone. However, if the application itself doesn’t open or load up, the problem might be within its app build, and reinstalling it will solve the issue. But there are other methods to fix a malfunctioning Zoom application as well, and this guide shall take you through them all.
Why is Zoom Not Working on My Mac?
How to Fix Zoom Not Working on Mac?
Whenever Zoom is not working on your system, first restart your computer and reopen the Zoom application. This can discard any previous OS-related glitches and bugs, and the application might start working well now.Also, if the Zoom server is down, you won’t be able to work on the application. And in such cases, all you can do is wait for the developers to fix the problem and get the server back up. But if everything’s fine and the app is still not working on your Mac, follow the steps shown below.
Make Sure You’re Online
Zoom requires an active internet connection to function properly. That means, if you’re not connected to the internet, the application will not work and sometimes might even fail to start up.Also, if you notice that your video calls are buggy or if the audio/video is not present, your network connection might be too slow. A slow internet connection gives rise to many issues with the Zoom application. Hence, it’s better to check the connection status before diving into more technical solutions.
Force Quit Zoom
If your application is not working like it’s supposed to, you can force quit it and try to reopen it again. Any minor app-based bugs could disappear, and your app might start operating normally. So, here’s how you force quit Zoom on a Mac:
Allow Camera and Mic Permissions for Zoom
If you don’t permit your application to access certain system resources, it will be blocked from doing so. Similarly, if you don’t give your system’s camera and microphone access to Zoom, you will not be able to present yourself efficiently on a conference call.So, if you notice that your audio and video are not popping up, you can check the permission settings and alter the configurations there. Here are the steps to do so:
Alter Your Zoom Settings
If your audio/video is still not up even after giving Zoom the related access, you have to change the in-app settings to fix the problem.
Close Other Applications Using the Camera
If other system apps are actively using the camera and microphone, Zoom will not be able to function properly. That’s because multiple applications cannot use these resources at the same time. And if that’s the case, you have to close these applications, no matter whether they are running in the foreground or the background.We can visit the Mac’s Activity Monitor to track, monitor, and quit any such applications.
Close Apps With High CPU Usage
Zoom requires a certain amount of CPU access to carry out its workflow properly. But when other applications(s) are using a significant amount of CPU, the system can get overloaded, overheated, and the entire OS might have stability issues. And amidst all that chaos, the Zoom application itself might appear unresponsive. When this happens, closing those applications with a high CPU percentage will return the most favorable outcome.
Disable Firewall
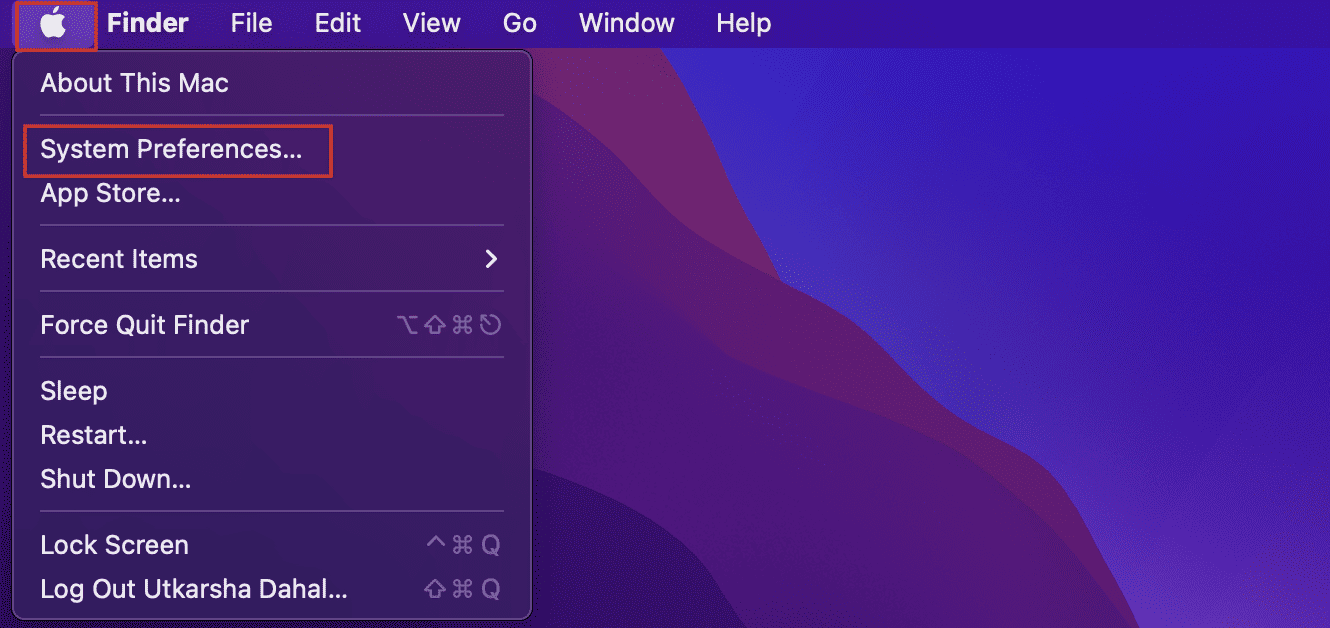
Your system firewall is known to block the Zoom workflow at times. So, when everything is in the right order and the application still doesn’t function properly, the firewall might be the culprit. However, you can temporarily disable the Firewall from your Mac’s system preferences window, and here’s how to do so:
Reinstall Zoom
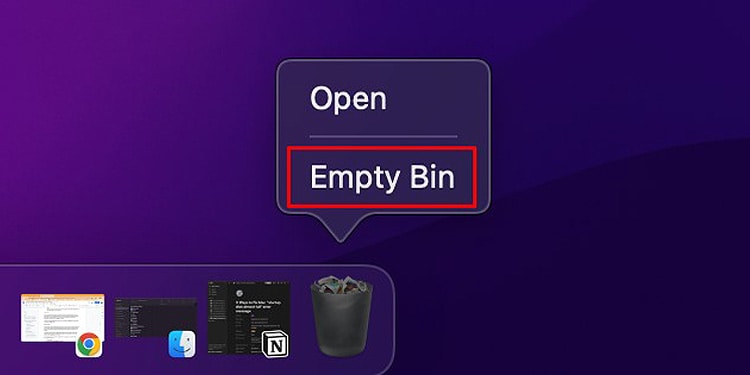
If none of the aforementioned steps work, you, unfortunately, have to delete the entire application and reinstall it again. This will discard any corruptions of the previous build, and re-installing it sets up a newer build of the applications. Here’s the exact flow you can follow:


