While the issue primarily arises due to incorrect privacy settings of the microphone, it also occurs due to the use of improper audio drivers. Or, there might be cases when the cable connection or microphone itself is faulty.Luckily, you can do a few things, like bypassing the microphone’s privacy and configuring a few settings to get it back to work again.
How to Fix Microphone Not Working on Windows?
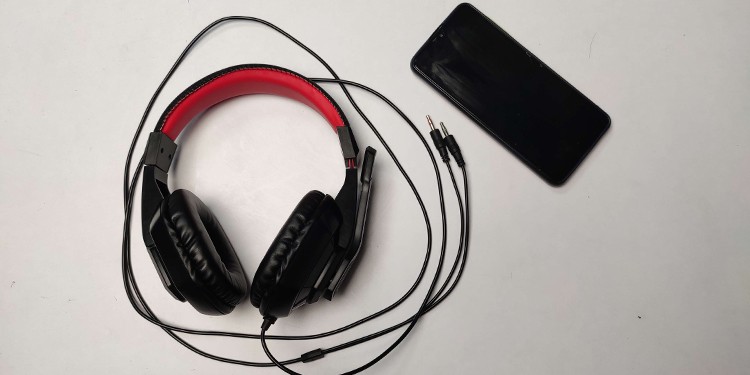
You need to perform certain physical tests when the microphone is not working on your computer. First, you must check if the cables are connected to the correct ports. Then, make sure the physical switch to mute the microphones is not toggled on if it has one.There might be cases when the microphone is damaged, and you are having issues. To verify if that’s the case, you can use microphones with your smartphone and see if the problem persists. Since using microphones with a smartphone does not require any configuration, you can quickly know if the microphone is damaged.
Allow Microphone Access
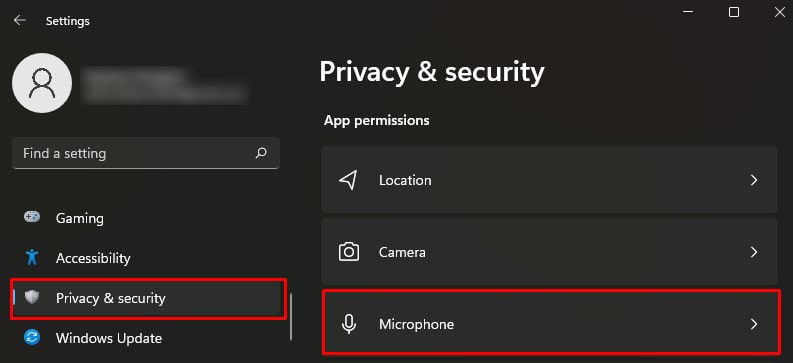
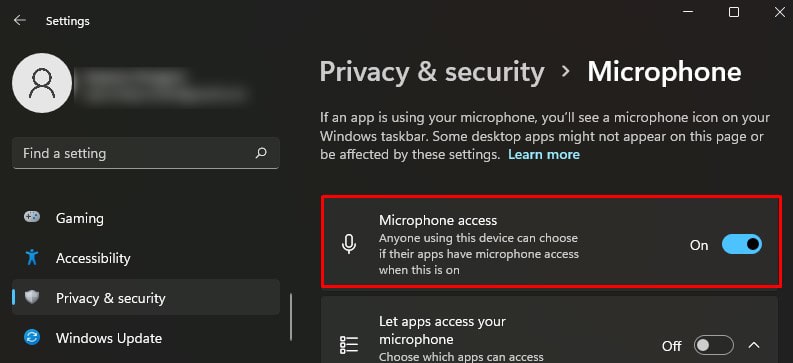
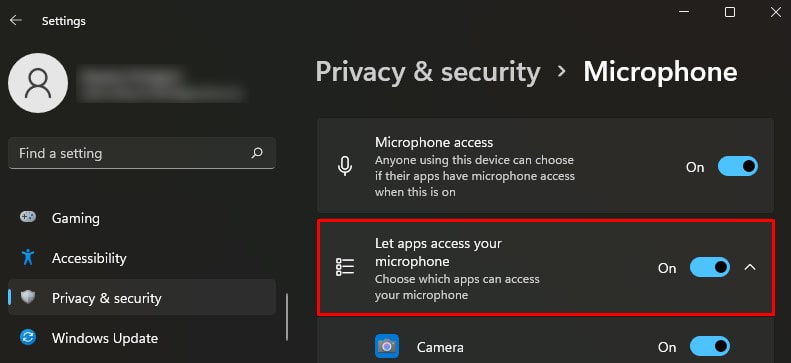
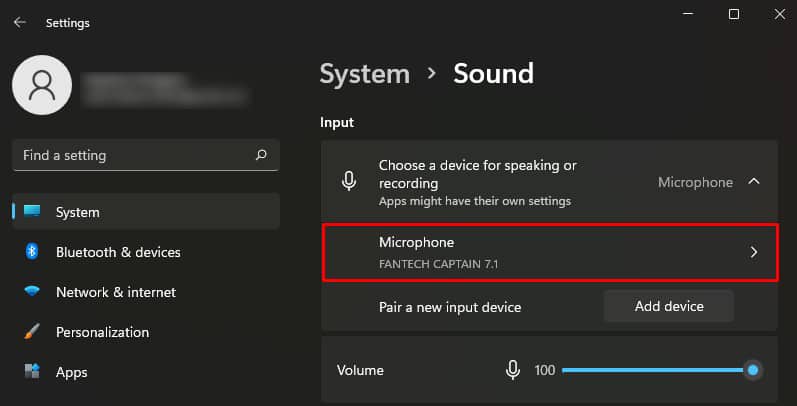
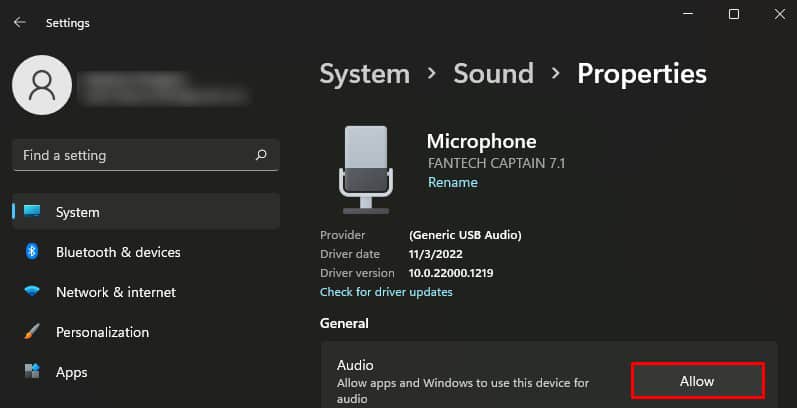
Once you verify that the microphone is good, you should first allow the microphone to bypass the privacy settings of Windows. Else, you won’t be able to use it across any apps or settings on Windows. Changing the microphone’s privacy settings often works without further hassles.
Use Audio Splitters
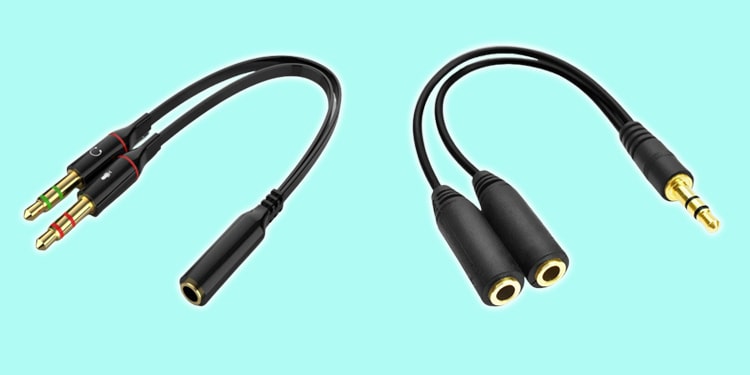
There are mainly two kinds of headphones available on the market. One with a single jack that works for both speakers as well as microphones. The other one has two separate jacks, one for the speaker and one for the microphone.Laptops are provided with a single audio port, while desktops have two of them. So, if you want to use a microphone with two jacks on a laptop, you need an audio splitter with two female audio ports and one male jack. Similarly, using a single jack microphone on desktop computers needs an audio splitter with one female audio port and two male jacks.
Configure Microphone Correctly
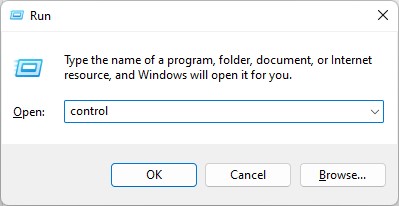
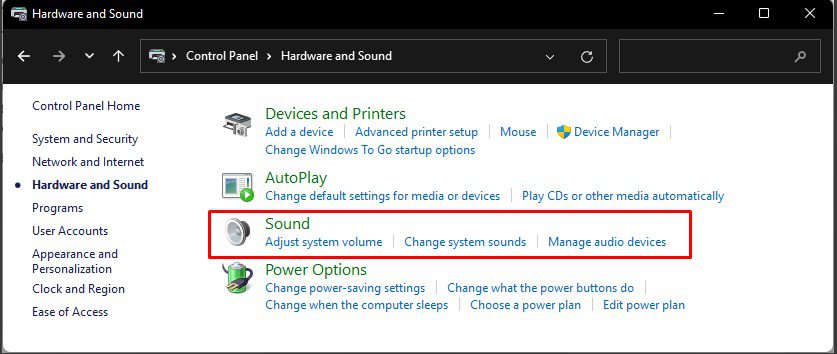
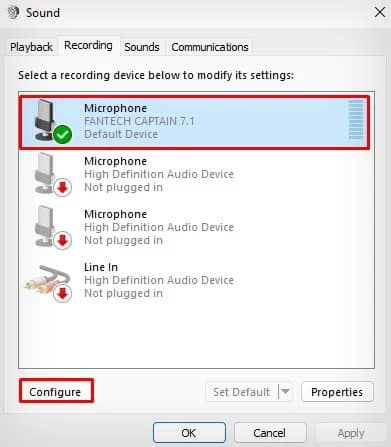
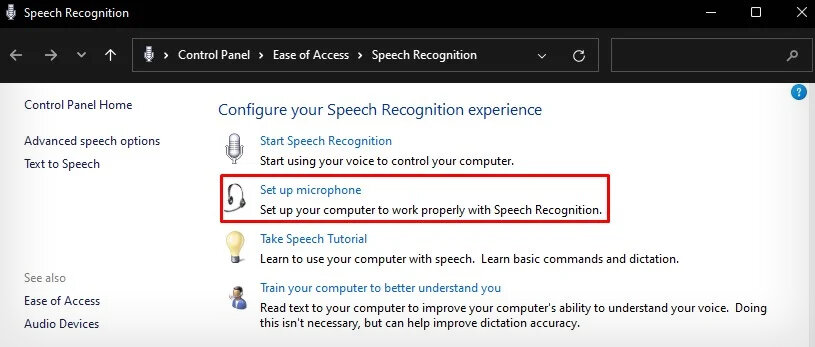
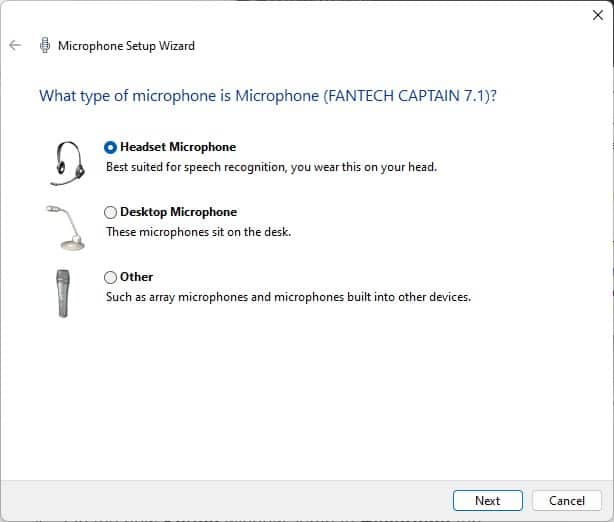
You won’t be able to use the microphone without proper configuration. So, once you set up the microphone on your computer, you first need to configure it from the Control Panel.
Change App-specific Audio Settings
If you have VOIP applications like Skype or games installed on your PC, they can access the microphone in the background. Therefore it would be helpful if you terminate all the apps running in the background and only open the app you are currently working on. It will help prevent any conflict between the apps accessing the microphone.Meanwhile, if you are facing audio problems only on specific apps, there might be a separate audio setting for that particular app. Consider changing the microphone settings in that app as well.
Change the Input Volume Levels
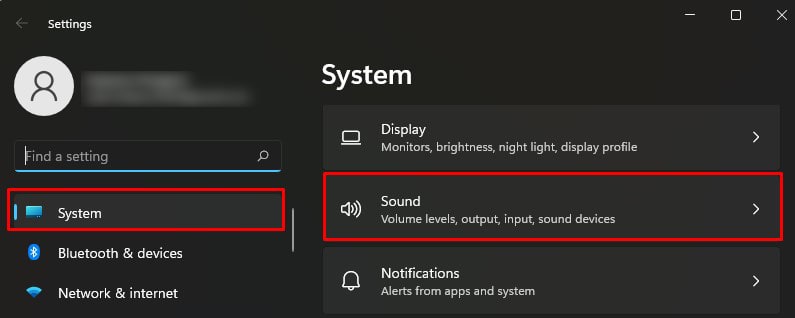
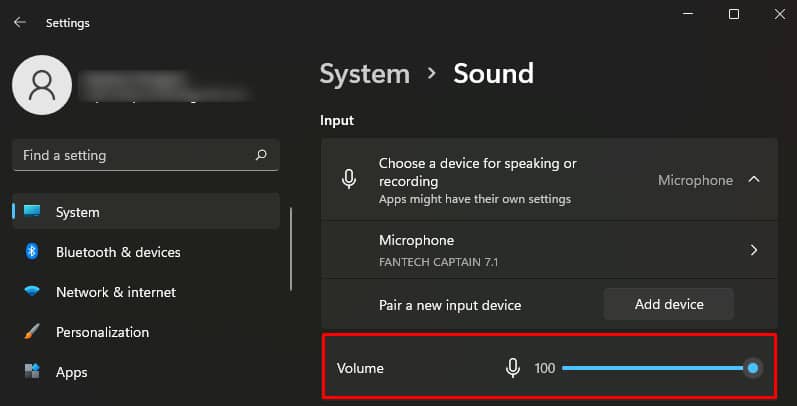
Next, you need to adjust the proper volume intensity for microphones to detect and record your audio. A microphone volume set at a lower level won’t be able to detect the audio. So, make sure you have set the volume level to the fullest.
Configure Audio Service
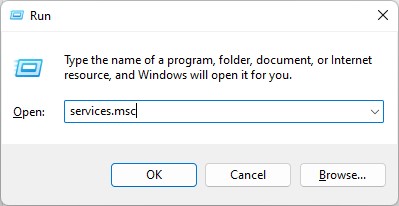
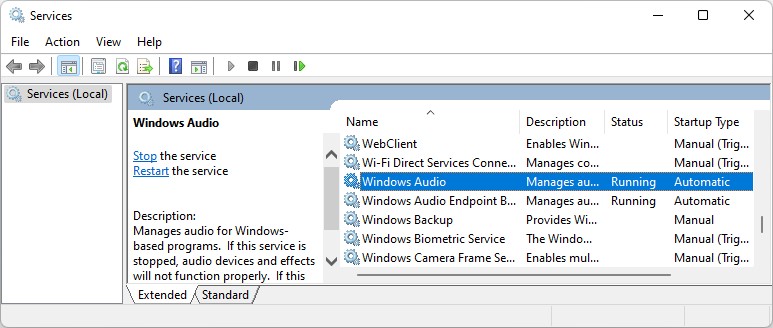
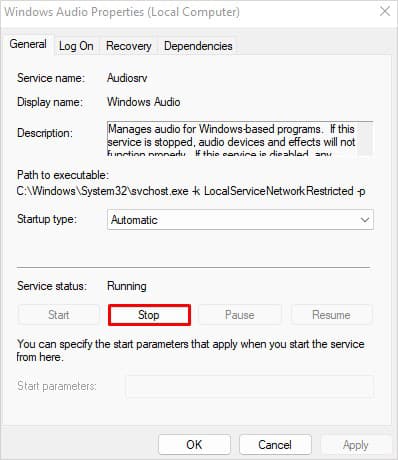
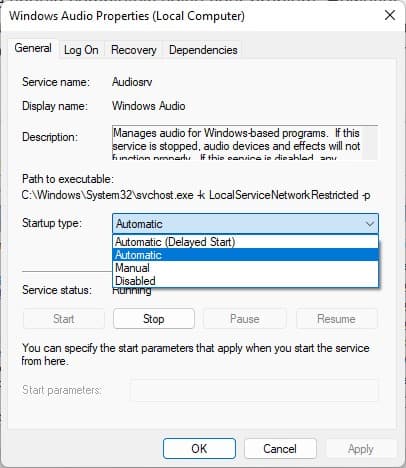
Windows Audio Service is responsible for carrying out audio processing for different apps on your computer. However, if this service stops or crashes, you may have a hard time using audio functionality on Windows. In such cases, you need to reconfigure the service.
Use Proper Audio Drivers
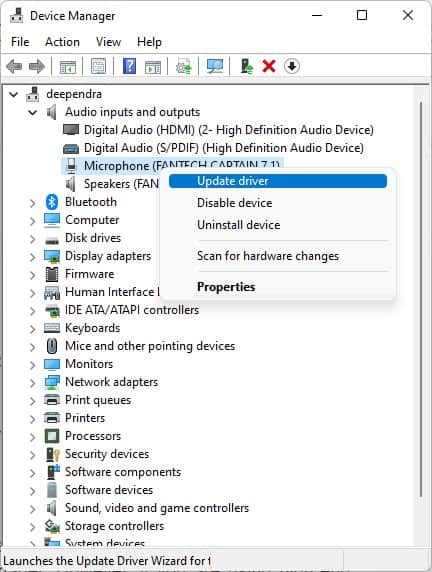
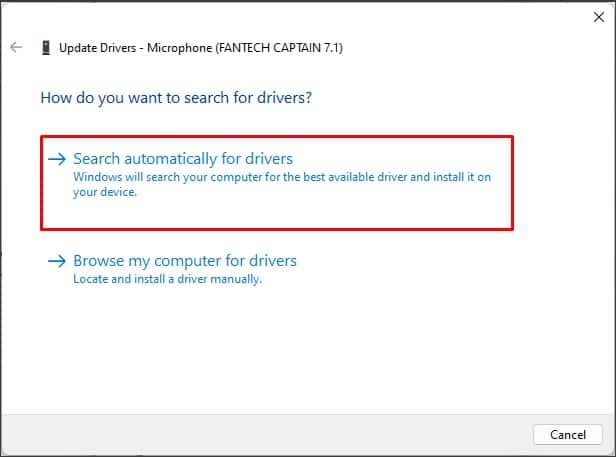
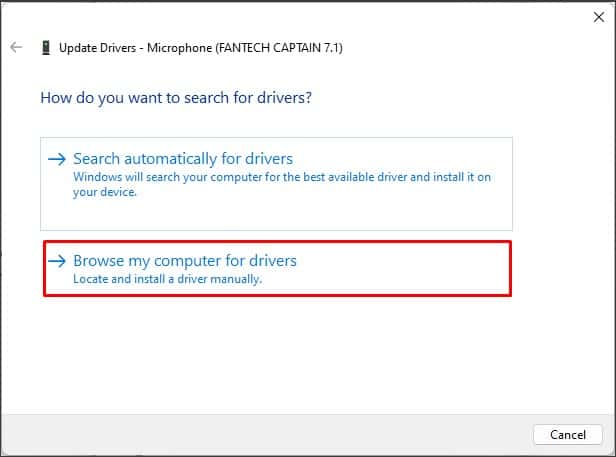
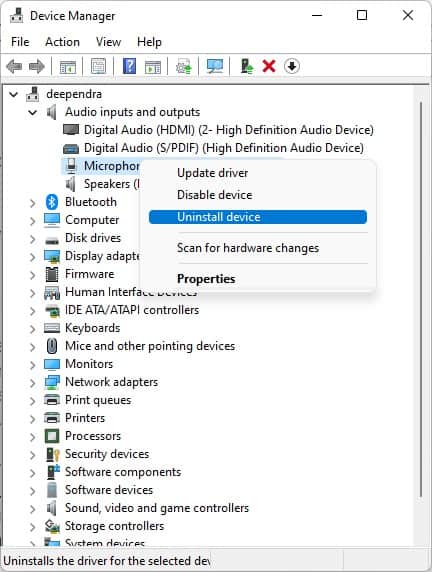
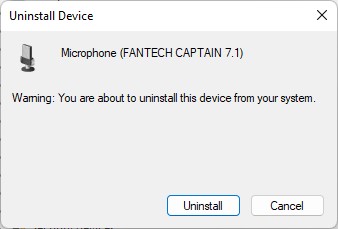
Corrupted or outdated drivers are another reason the microphone stops working. You can easily update or reinstall the drivers from the Device Manager. However, if you are using high-end microphones, they may require a separate driver from their manufacturer. So, consider downloading the driver from the respective manufacturer and installing it.Likewise, if updating the driver did not work, try uninstalling the driver.
