However, the process of updating BIOS was comparatively complicated during old age. Now, there are multiple ways to update the BIOS safely on your Lenovo device.From using software like Lenovo Vantage to installing the updates from their support site, Lenovo offers users multiple ways to update the BIOS of their devices.
How to Update the BIOS in Lenovo Systems
Lenovo offers users multiple ways to update the BIOS of their devices. You can choose and follow the most appropriate method given below to update the BIOS in your Lenovo system.
Check the BIOS Version
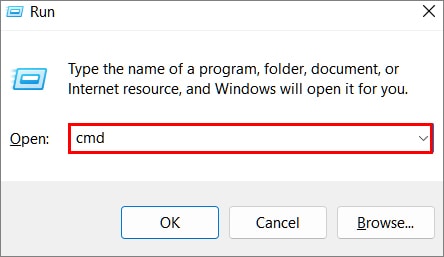
Before we go and update the BIOS, we first need to gather some information regarding the BIOS. Specifically, the BIOS version and the device model number. This is needed to check if your device has the latest BIOS and then download the compatible BIOS for your Lenovo device.To do this:Another way of checking the BIOS version in your device is through the System Information.
From Windows Update
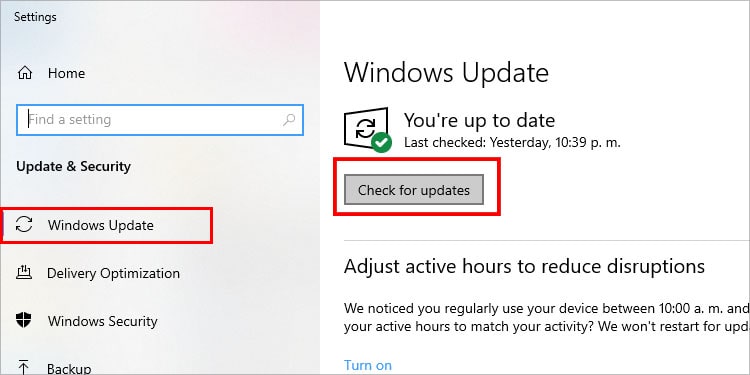
The first and the easiest method to update the BIOS in your device is through Windows update. If the current BIOS in your device requires some important updates, your device manufacturer will generally bundle it with the Windows update.To update the BIOS from Windows update:
From an Executable File
If you wish to manually download and install the BIOS of your Lenovo device:Now, to run the executable file,
From Lenovo Vantage
Lenovo’s Vantage is a proprietary Lenovo software that contains various support and diagnostic tools to help manage and maintain the health of your device. If your device has Lenovo Vantage installed, you can download and update the BIOS from there.
From Lenovo System Update
Lenovo System Update is Lenovo’s automation software that automatically finds, downloads, and installs the necessary drivers, software, and other applications on your device. To update the BIOS from System Update:Follow the on-screen prompts and wait until the update process completes. Your device may restart several times during the update process.
From a USB Drive
If you want to update the BIOS from a USB drive, we need a Bootable USB drive first. Updating the BIOS from a USB is sometimes necessary when the software provided by Lenovo fails to update it. To update the BIOS from a USB drive, follow the steps shown below:
Make USB Bootable
The first step to update the BIOS through USB is to make a bootable USB drive that will execute the install files automatically during the startup process.
Download Update File
After making your USB drive bootable, you will need to visit Lenovo’s driver and support page to download the necessary BIOS files. To do this:
Change Boot Order
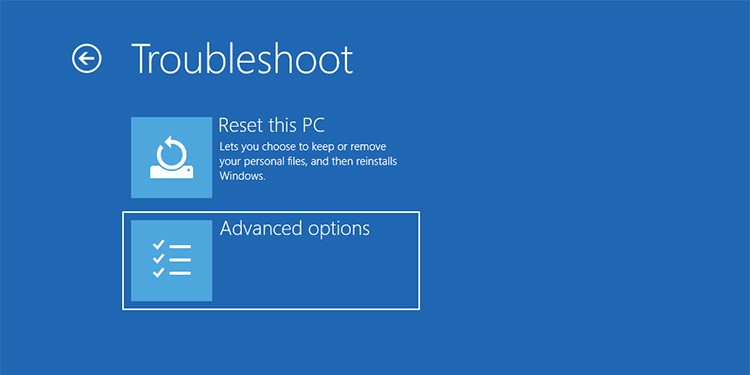
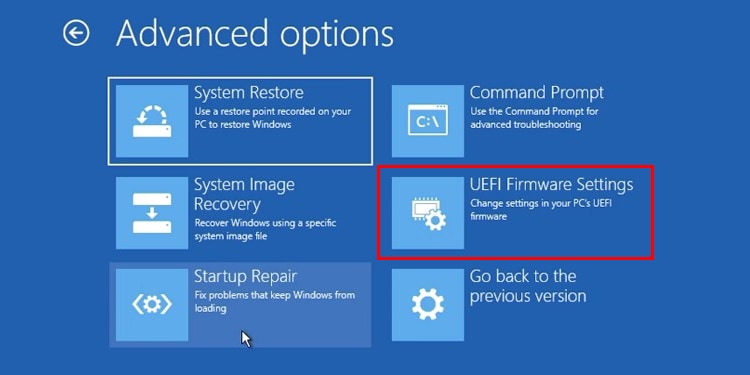
After downloading and extracting the files into the USB drive, you will need to change the boot order of your device to USB from BIOS. To access the BIOS, follow these steps:You can also directly enter the BIOS by pressing dedicated keys during the bootup sequence of your Lenovo device. You can refer to our other article for detailed steps to enter BIOS settings.
Update BIOS
Now, after accessing the BIOS interface, you will need to disable the secure boot from the boot options and change the boot order of the device from firmware to USB. This will make sure that your device will boot from the USB drive that has the BIOS in it. To disable secure boot from the device:The BIOS file will now begin updating on your device from the USB drive.After a successful update, you will receive a confirmation and your device will restart. Now, remove the USB drive from your device and change the boot order of your device back to that of the Operating System from the BIOS.


