Now, for the transfer process, you can choose between different options. In this article, we have included both wired and wireless methods. So, depending on your preference and convenience, you can apply any of the below-mentioned methods.So, without further ado, let us explore the different ways to transfer files between your Macs.
How to Transfer Files Between Macs?
Before we begin, there are a few things you should take into consideration while starting the transfer. First, make sure you are updated to the latest operating software. In some instances, with outdated operating software, you might face compatibility issues.Likewise, most of the mentioned methods require an active and stable internet connection. Also, ensure you are connected to power throughout the transfer process, especially if you’re dealing with large files. Now, let us learn about each of the methods in more detail.
Use Migration Assistant
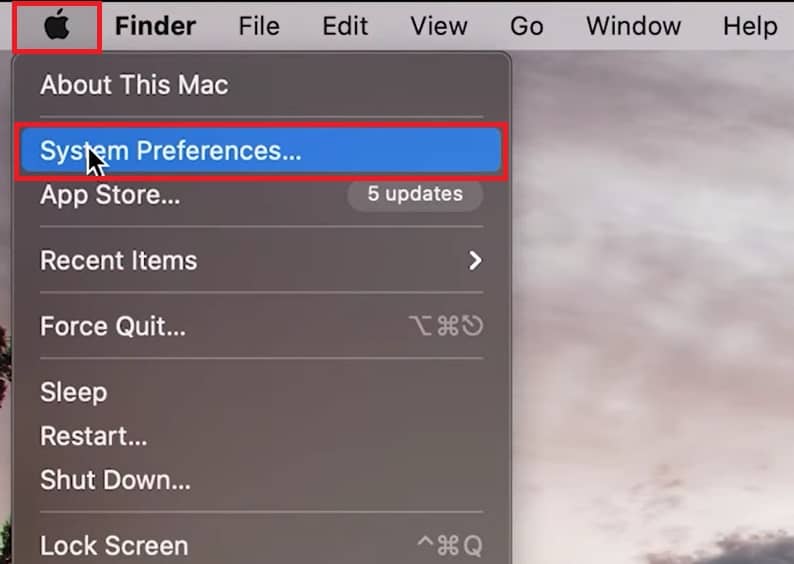
Instead of manually transferring your documents, user accounts, and settings, you can use Apple’s built-in application, Migration Assistant. This application is specifically designed to help ease the transfer of your files between Macs and other PCs.If you have already set up your new Mac, then here are some steps you can follow to transfer files between these devices.
Use File Sharing
Another quick and easy way to transfer files between Macs is to enable File Sharing on your devices. With this method, the only requirement is to be on the same network connection. So, here are some steps you can follow.
Use AirDrop
With AirDrop, you can instantly share files, photos, and more with nearby Apple devices. Before starting the process, ensure you are near the Mac device you plan to transfer the files to. You’ll also need to activate Wi-Fi and Bluetooth to access this functionality. Here is how you can turn on AirDrop and share your files.
Use iMessage
If you have activated the same iCloud account on your Mac, you can use the iMessage app to send and receive files on both Macs. This method is especially useful if you only need to transfer a few files. To do so,
iCloud Drive
If you have enabled and stored files on iCloud Drive, you can easily view and transfer files between your Mac devices. Here is how you can enable it. If you have certain files outside these folders, you can simply drag them into the iCloud Drive pane.
Use Time Machine
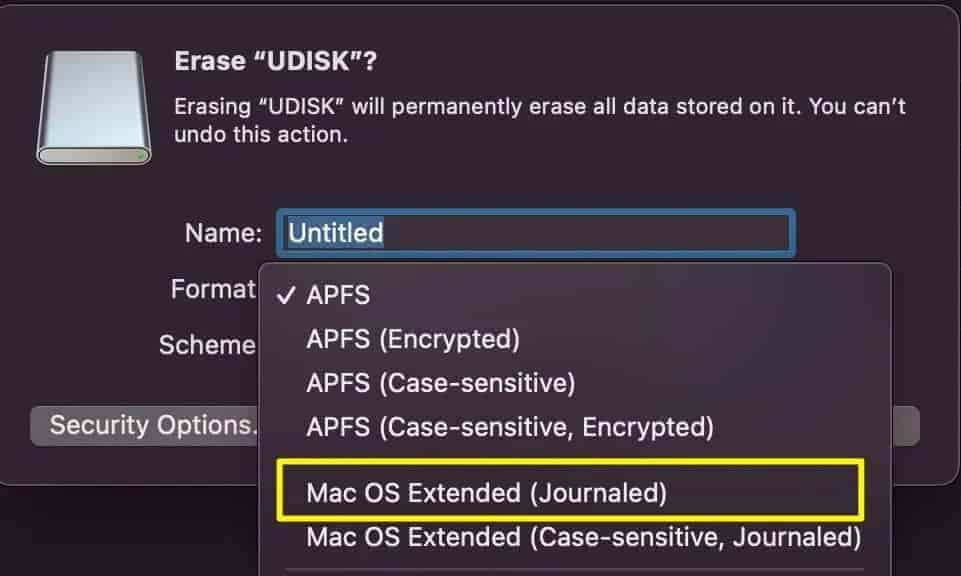
Time Machine is a built-in app on every Mac designed to back up your information. But you can also use the same option to migrate all your data from one Mac to another. You need an external hard drive to store your files for this method. Also, in many instances, the default external drive format is not supported by your Mac devices. So, you will have to configure its format.Here are some step-by-step guides you can follow.
Step 1: Format your Device
Step 2: Backup through Time Machine
Step 3: Transfer Time Machine Backup
Alternatively, if it is not a new Mac device, you can head over to the Migration Assitant and select the From a Mac, Time Machine, or Startup Disk option and follow the same procedure.
Use Cloud-Based Services
Other than iCloud, you can also use other alternative cloud-based services. These can include Dropbox, Google Drive, and so on. Since these services tend to store all uploaded contents online, so all you need to do is head to its website or application and download your needed files.
Use Thunderbolt 3 Cable
If you have a thunderbolt cable 3, you can easily use this wired connection to transfer files between your Macs. You will only need to configure certain settings on your Network. Here is how you can do it.


