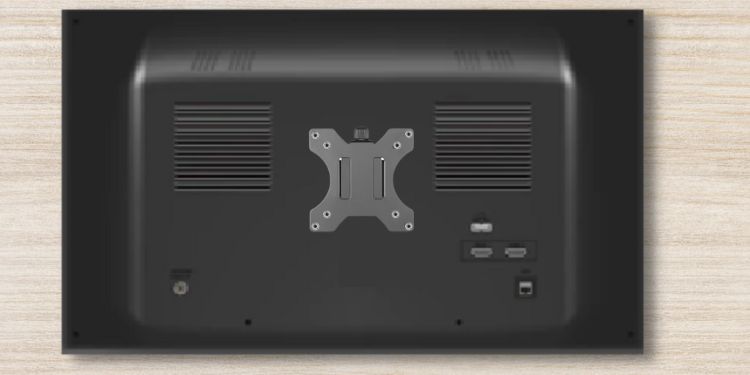
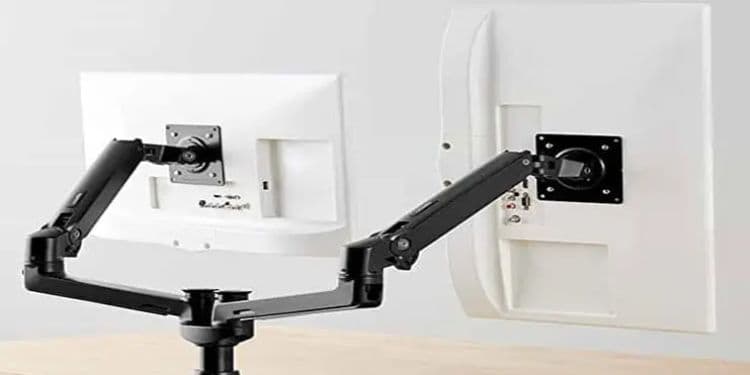
Well, the only way to mount a monitor without holes is by using a VESA or NON-VESA adapter. Thus, if you’re someone who loves tinkering with hardware components, you can follow this article to create DIY VESA holes and use the right adapters to mount your screen.
What is VESA?
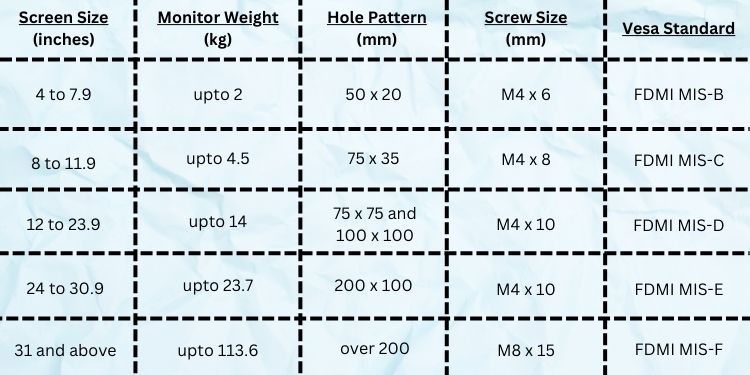
Before moving forward, it’s essential to know about VESA – Video Electronics Standards Association. Basically, this is a standard adopted by over 300 organizations for mounting interfaces on a display device.Reportedly, the mounting interface standard, also known as the Flat Display Mounting Interface (FDMI), specifies the four-hole attachment pattern and screw size based on a monitor’s weight and size.Interestingly, the VESA patterns can come in a wide range of sizes. Thus, it’s crucial to identify the proper specifications for your monitor so that the products (mount or adapter) you buy are compatible with one another.Well, it’s relatively easy to determine the VESA pattern on a VESA-compatible monitor. All you have to do is measure the horizontal and vertical distance of the holes in inches, then convert them into millimeters (1 inch = 25.4 mm).However, in monitors with no holes, you’ll need to first measure your computer’s screen and weight. Then, have a look at the below chart that specifies the hole pattern, screw size, and the VESA standard suitable for your monitor.
Benefits of Mounting a Monitor
Generally, desktop users use monitor stands that lock the position, disallowing you to adjust the height and angle of your screen. To avoid this, you can employ monitor mounts that make you feel comfortable and significantly improve work performance.
How Do I Mount a Monitor With No VESA Holes?
Well, you do not need to get a new monitor just because yours do not have mounting holes. Regarding the same, this section guides you on how to use the appropriate VESA adapter to mount any monitor.But before that, we suggest checking the back panel of your monitor properly, as, in some models, these holes are hidden. Moreover, you can also examine this using the monitor manual that should indicate where they lie.If you do not find them, you can now move ahead with the seven steps on how to mount a monitor without holes.
Get a VESA or NON-VESA Adapter Kit
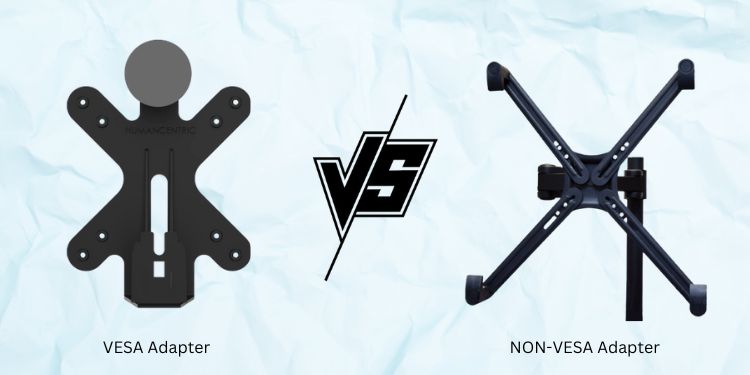
Interestingly, you can find different VESA adapter kits for different manufacturers. Well, these are available online or can also be found in most computer retail stores.Moreover, these adapters come in different sizes depending on the monitor size and weight. However, you can also find a universal VESA adapter compatible with most flat-screen displays.Basically, these adapters come in the form of plates and need to be attached to your monitor’s back panel. Thus, it would be best if you gathered other tools, which we will discuss in the next section.But if you’re looking for a simpler device that doesn’t require drilling holes, we recommend getting a NON-VESA adapter, depending on your monitor specifications (screen size and weight). Well, these are compatible with both VESA and NON-VESA monitors.However, the NON-VESA adapters are usually expensive and can’t be easily found like the VESA mount adapters. Furthermore, they are less adjustable and may not support large-sized monitors.
Gather Necessary Tools
Once you’ve got your hands on the VESA adapter, it’s time to gather some other tools for attaching the adapter plates to the monitor.
Disassemble Your Monitor Parts
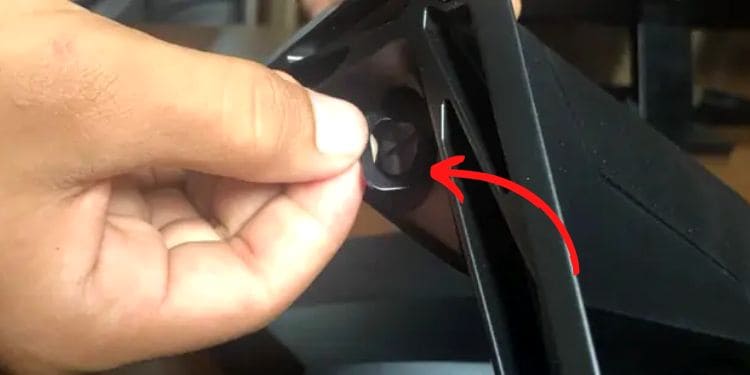
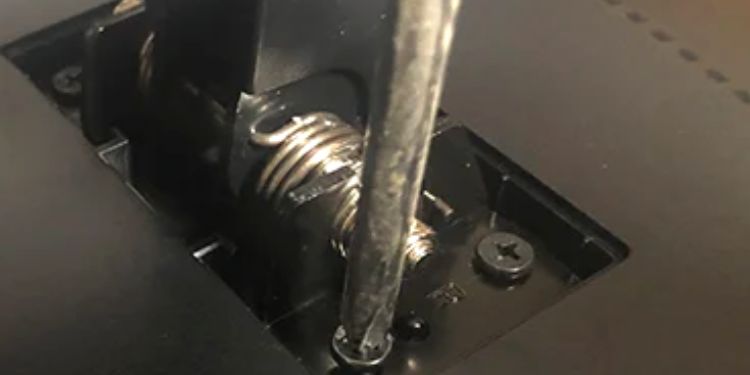
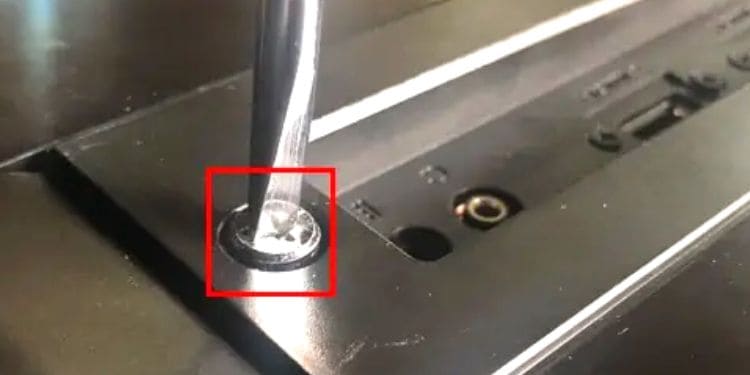
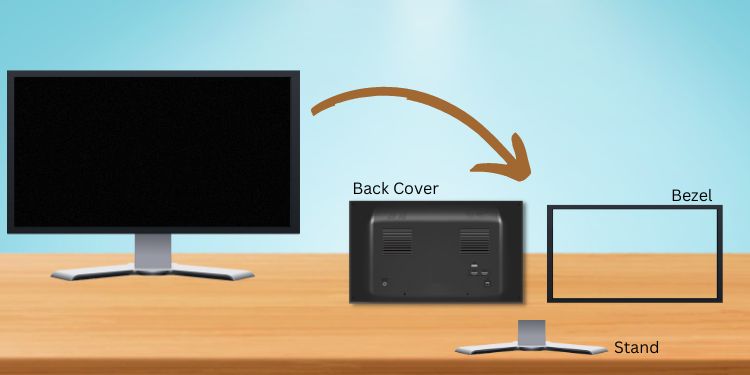
Before attaching the VESA adapter plate to your display device, you need to remove the monitor stand, bezel, and outer casing. Since this process is distinct for different models, we recommend checking your monitor manual to do it the right way.Nonetheless, the below guide features general steps that should help you disassemble the parts on any monitor:
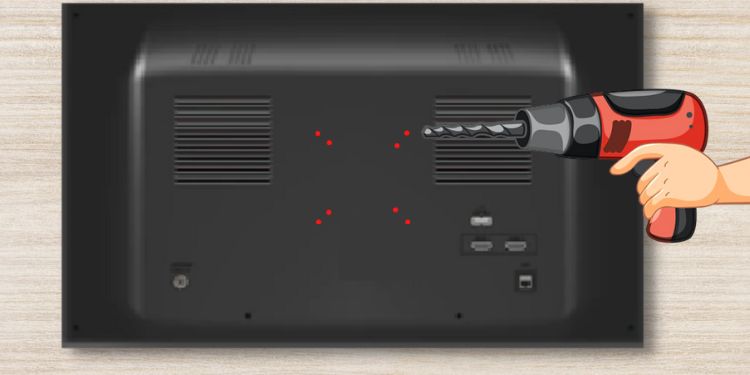
Mark & Drill DIY VESA Holes
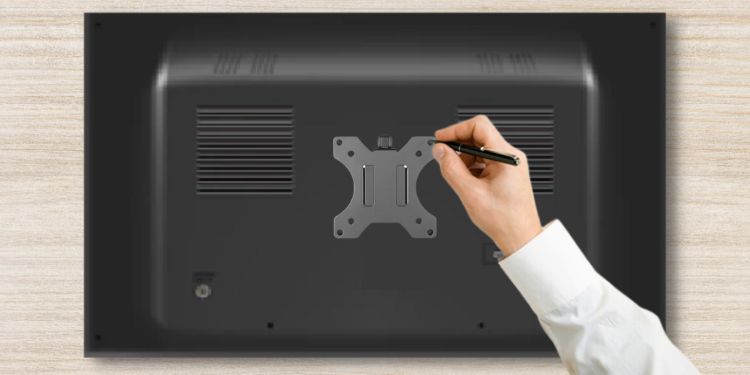
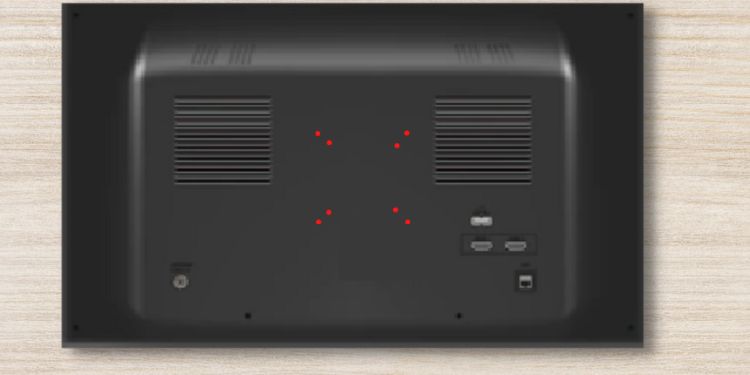
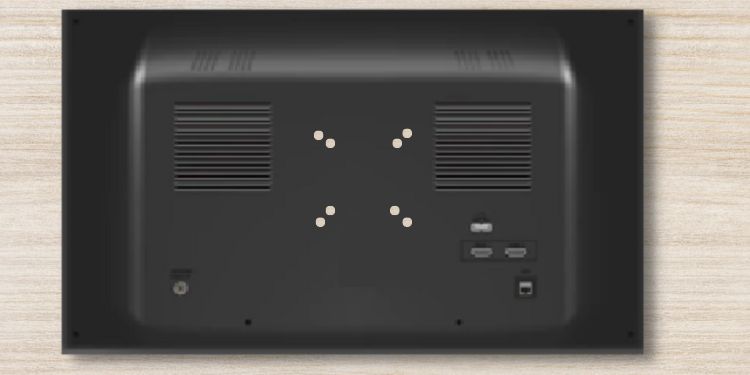
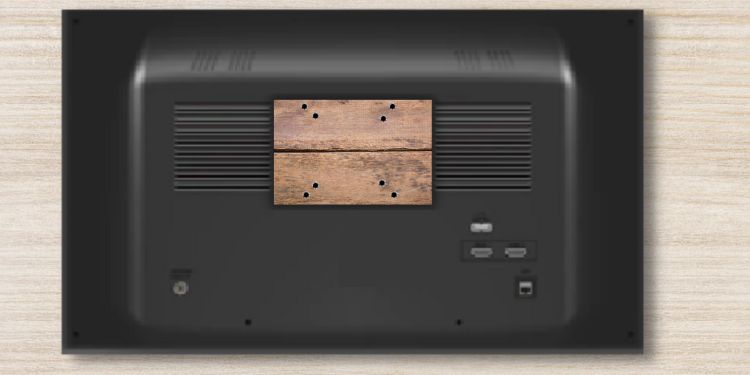
Once you’ve disassembled the monitor parts, the next step is to create custom mounting holes in the cover plate. However, if you fear drilling holes in the wrong place, you can even use a piece of wood (depending on the screen size). Well, you need to drill the holes in the proper position such that the VESA adapter is compatible. Hence, we recommend marking the areas first so that you drill the holes in the right place. Kindly follow the simple steps on how you can do this correctly:
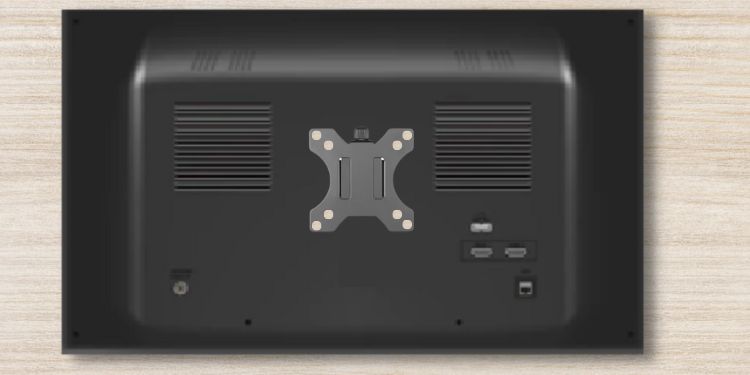
Attach VESA Adapter to Your Monitor
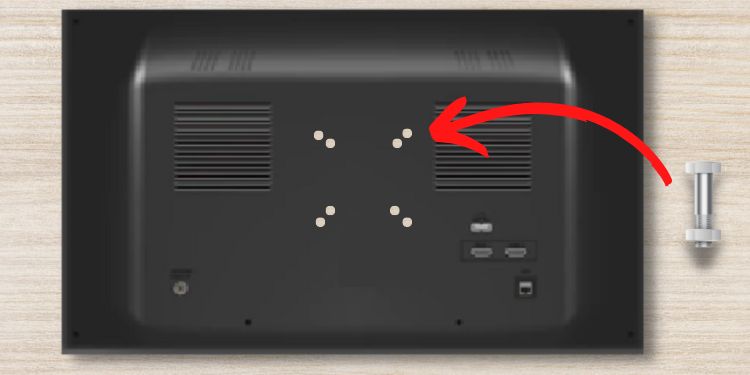
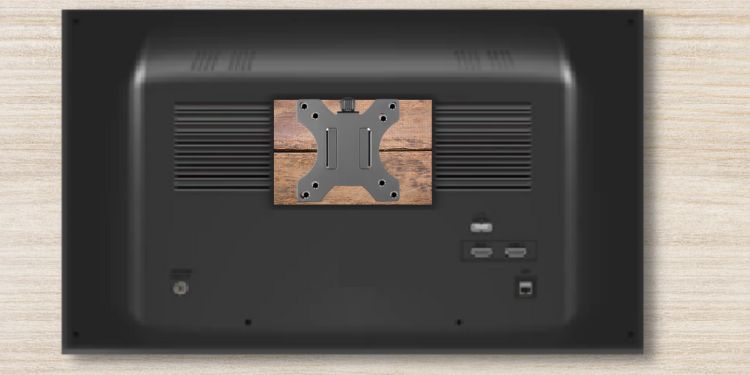
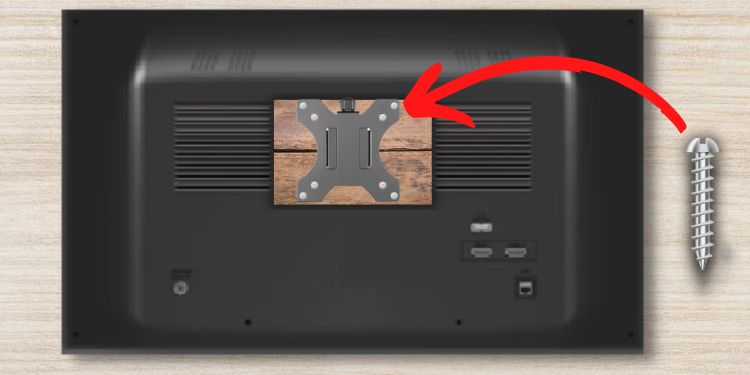
Once you’ve drilled the holes in the proper position, you can now attach the VESA adapter to the monitor cover plate. Here’s a complete guide on how you can do this:However, if you’ve drilled holes in wood, the process of attaching the VESA adapter to your monitor is a little different:
Reassemble Monitor Parts
Once you’ve attached the VESA adapter to the monitor’s back cover, you can now start reassembling the detached parts. Since you’re going to mount your monitor to a wall or an arm, you do not have to reattach the stand.At first, attach the back cover with the monitor’s screen. Once that’s done, carefully place the bezel trim in the front. Ensure you align the edges properly; while doing so, you should hear tick sounds confirming that the bezel and back cover is attached correctly.
Mount the Monitor
The final step is to mount your monitor to a mounting stand or arm. Usually, the VESA adapters have slides such that you can directly slide them into the arm.However, some VESA adapters have dedicated screw holes. In such a case, you’ll need to add four more screws or bolts to mount your monitor.Using the VESA adapters, you can also easily set up multiple displays. Here’s a complete guide on fitting two monitors on a small desk.
