Increasing the amount of disk space assigned to the VMs can be a bit confusing if you’ve never done it before. As such, we’ve detailed the necessary steps to increase the VMs’ disk size in VirtualBox for Windows, Mac, and Linux.
Steps to Increase VirtualBox Disk Size
The process involves adjusting the space allocated to the VM via VirtualBox, matching the increase on the host OS, and finally managing the unallocated space directly through the guest OS.
Step 1: Allocate Space to VM
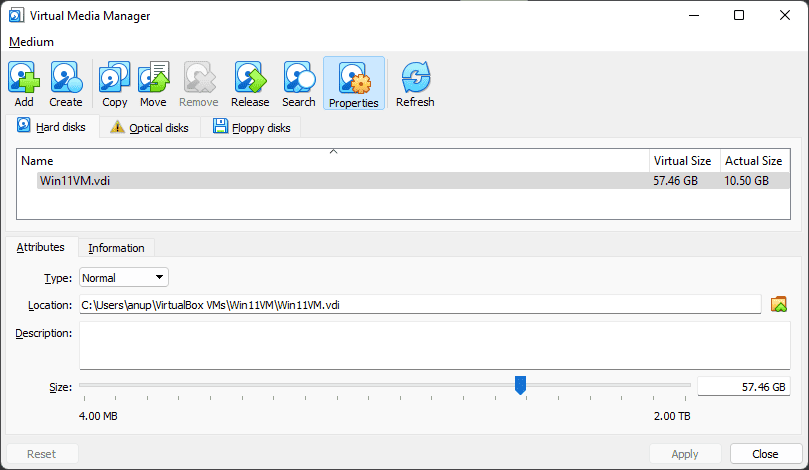
As stated, you’ll need to allocate a certain amount of disk space to the VM. Here are the steps to do so:If you’re using a VirtualBox version older than 6, you can instead use the command-line steps listed below for resizing. On Linux systems, you can directly use the following command:VBoxManage modifymedium
Step 2: Increase Allocated Space on Host OS
If the VDI is stored on a partition with plenty of free space, you can skip this step. But if the partition where the VDI is stored doesn’t have any free space, the increased space from the previous step won’t be accessible to the VM.As such, you’ll have to adjust the host OS’s partitions accordingly. We recommend backing up important files before performing any partitioning tasks.
Windows
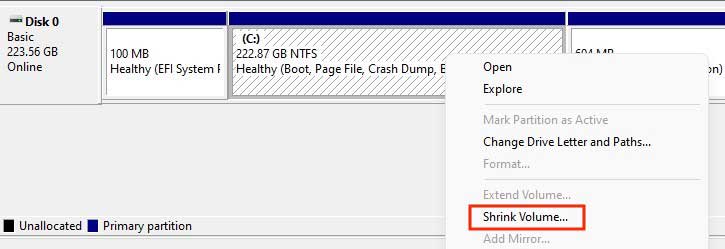
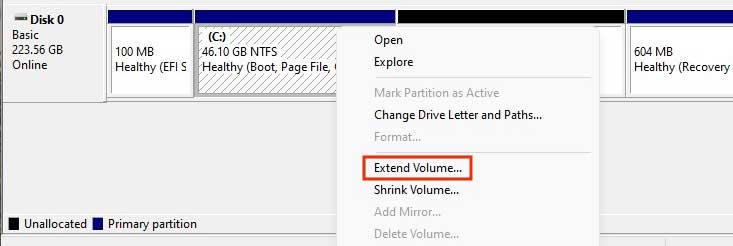
On Windows, you can use the Disk Management tool for this step:
Mac
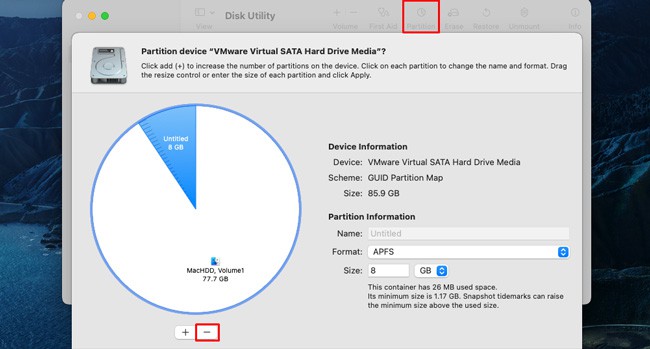
On Macs, you can use Disk Utility to manage the partitions:
Linux
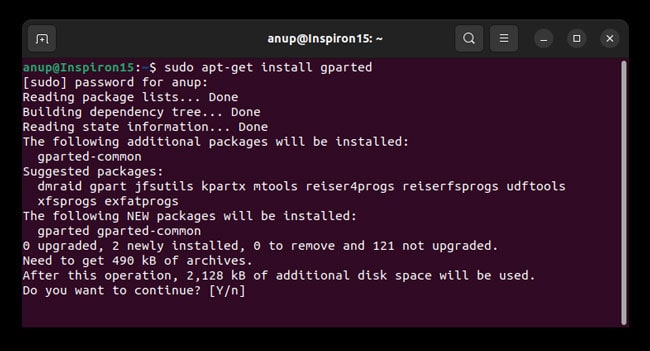
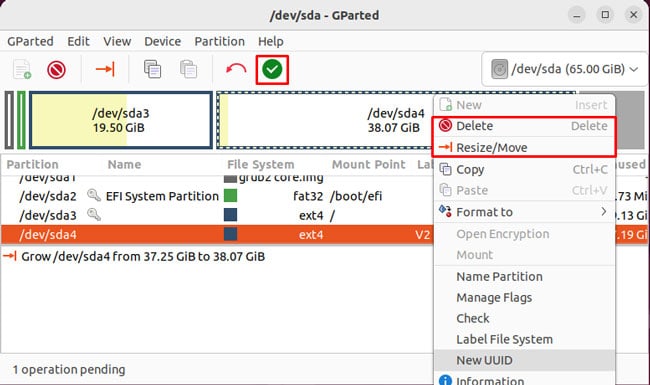
On Linux, you can use your distro’s built-in partition manager or any other reliable option such as GParted:
Step 3: Modify Partitions in Guest OS
First, we increased the disk space assigned to the VM via VirtualBox. Then, we made sure the increased space was matched on the host OS in the second step.While this space is now accessible to the VMs, it will be unallocated by default. Depending on what guest OS you’ve set up in VirtualBox, you can use the appropriate steps from Step 2 to modify the partitions and make the unallocated space usable.
