Whether you can remove the vertical lines on your monitor or not depends upon the cause. You can easily solve software faults, but damaged hardware requires dedicated technicians or even full replacement. Read through the article to figure out the cause and fix the problem.
What Causes Vertical Lines on Monitor?
How to Narrow Down the Cause?
To exactly solve your problem you need to determine if the problem exist in hardware or software. The common things that result in showing vertical lines on your screen are:
Damaged cables. Defective Ports. Corrupt system files. Outdated drivers. Changed graphic settings. Old or faulty graphic card Disconnected PCB. Defective T-Con board. Broken LCD/LED panels. Ribbon Cable malfunction.
Observe the Start Screen of Monitor
A method to narrow down the cause is to observe the starting screen of your monitor. Cut off the monitor’s connection to the CPU by unplugging the HDMI or VGA cable. Connect it only with the power source and turn it on. If the screen with no signal message doesn’t show vertical lines, it’s your software problem.
View the BIOS Setup Menu
Another way to know is to view the BIOS screen. Shut down your computer and boot it again. Press the BIOS key (Generally F10 key) constantly while it boots. The key to press and the procedure may vary for different brands of computers. Search how to access BIOS for your brand online. If the BIOS setup menu shows vertical lines, you have troublesome hardware.
How to Fix the Vertical Lines on Monitor?
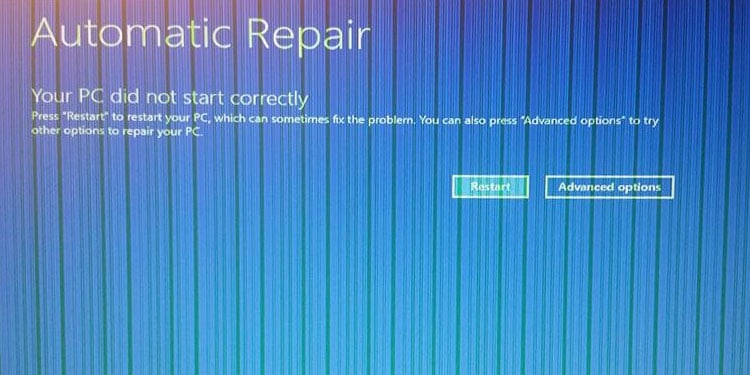
The first and foremost thing you can do is tighten and adjust your HDMI or VGA cables. Also, try to connect through different ports of your devices. You can follow this by restarting your computer. Windows will try to halt all the harmful processes that alter your graphic files while rebooting.
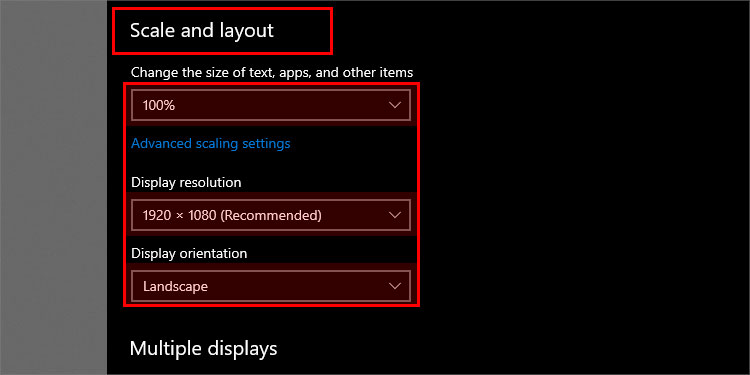
Change the Display Settings
You might also have knowingly or unknowingly changed the display settings. And if the settings don’t appropriately fit the hardware specs, it creates issues. Follow the steps to change your graphic settings to default Windows:
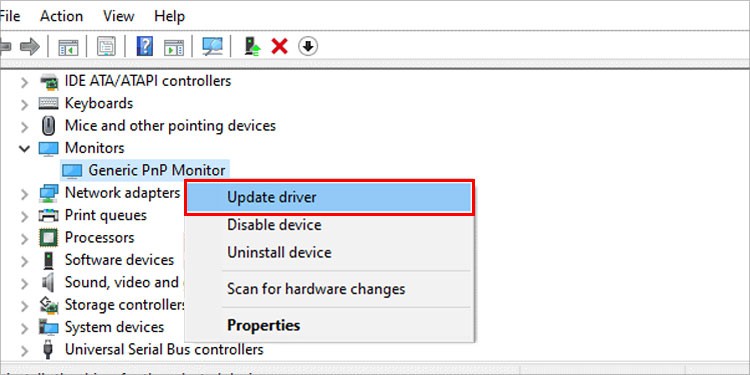
Update the Display and Generic PnP Driver
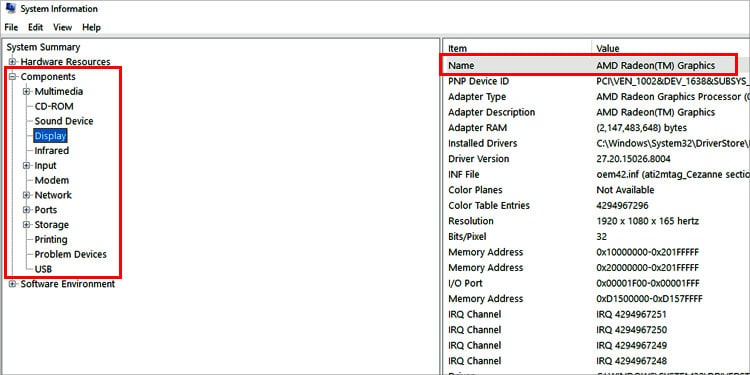
Your hardware needs to run the latest drivers available in the market to perform well. Updating is an automatic process of windows, but sometimes, it might not detect the updates. So, you can update them yourself.Display drivers work as interpreters between the graphic rendering hardwares and your monitor. Similarly, the Generic PnP(Plug and Play) driver is the bridge between your OS and monitor. Follow these steps to update your monitor and display drivers:Even after you went through the above steps, Windows may not automatically detect the latest updates for your drivers. But you can install the latest drivers from official websites. You first need to know which graphic drivers you are using. So, let’s start as:
Reinstall the Drivers
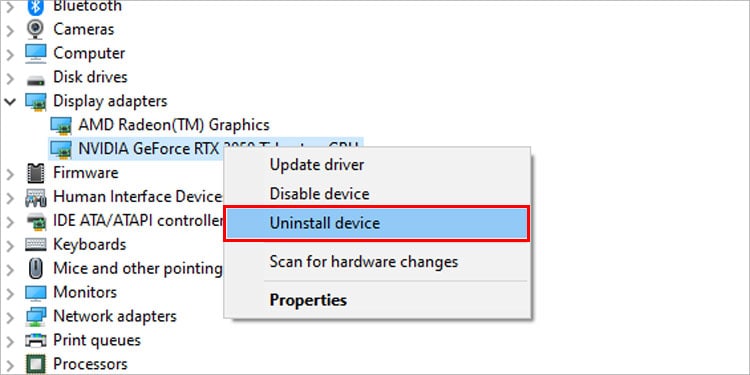
If you have drivers’ automatic detection problems, you can uninstall the graphic cards’ drivers and reboot your PC. This way, Windows will try to install the correct drivers while booting. To do so:You will have your graphic drivers automatically installed after the reboot.
Rollback the Drivers
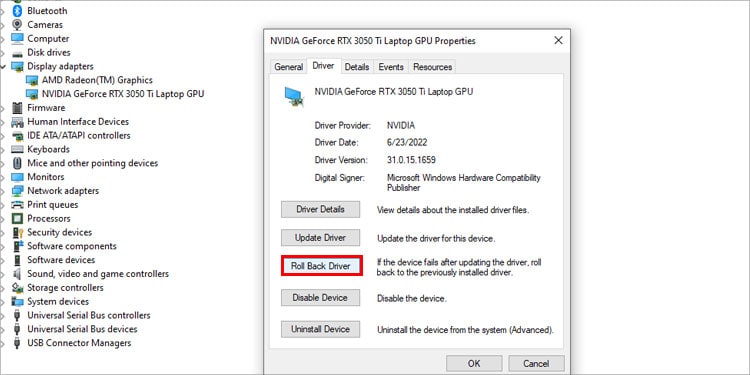
As I mentioned about the latest drivers above, you must also understand that your hardware needs the appropriate graphic card drivers. And sometimes, that can be the previous version of the graphic driver. Furthermore, new updates may add features that your hardware doesn’t support. So, you can also try to rollback the drivers to check if it solves the issue. Start as:Rollingback means deleting the latest drivers and installing the previous one. If you tried all the above fixes simultaneously, you probably updated the drivers successfully. You have to rollback your drivers twice to get the earlier version in such a case.
Run SFC/DISM Command
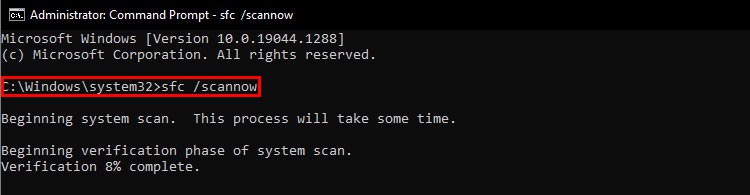
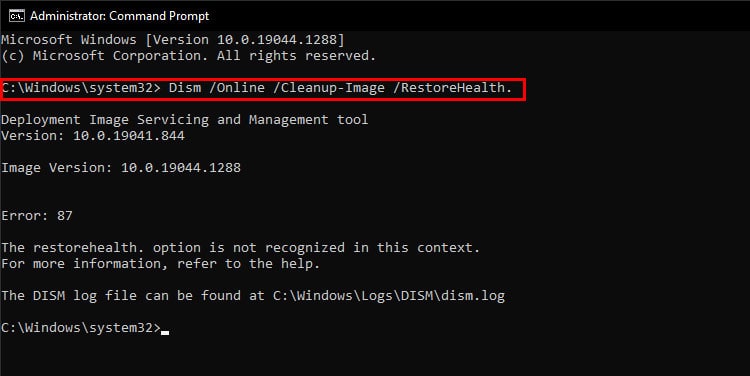
As the name suggests, the System File Checker(SFC) is a Windows command that scans for broken system files in your PC and automatically repairs them.In addition to that, Windows also provides you with the command line DISM(Deployment Image Servicing and Management) to fix the image servicing files.Here’re the steps you should follow to execute these commands:
Upgrade the Graphic Card
As old graphic cards may not support the latest monitors and display features. You can also try to change your graphic card to the new one if anything above doesn’t solve your issue. Buy an appropriate graphic card according to your hardware requirements and install it. And don’t forget to download the right drivers.
How to Deal With Hardware Defects?
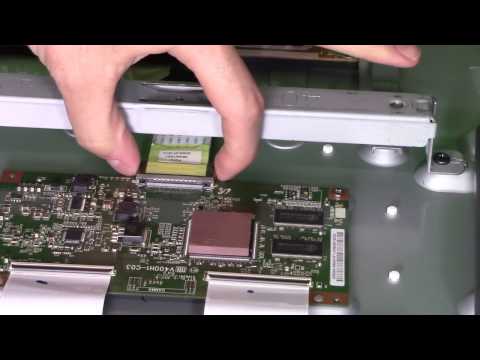
As I have already mentioned above, hardware defects are quite hard to deal with on our own. Even a technician can only help if your monitor has a fixable problem. But in case of a broken display panel, you will have no option than replacement.There are some reparable hardware faults like a loose PCB connection, faulty T-con board, or damaged ribbon cable. These problems exist inside your monitor and require technical knowledge to fix. But if you still want to dig, I have linked a video to repair hardware. However, we recommend you consult a technician.
Can Broken Ports Be Fixed?
Ports are the connection junctions between your monitor and PC. They are electronically connected to the motherboards. They can be changed but require the right tools and knowledge. It would be better to seek help from a technician.