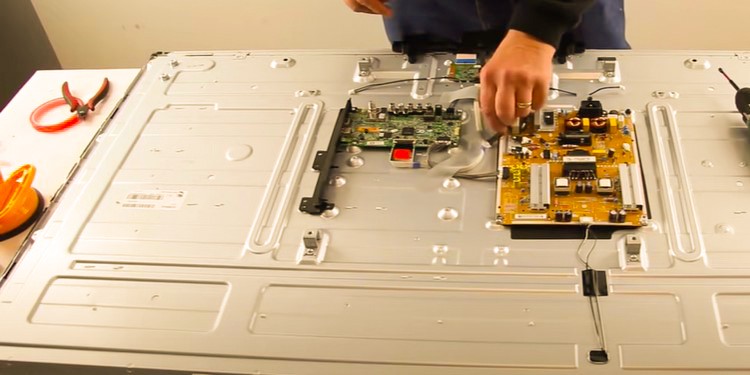
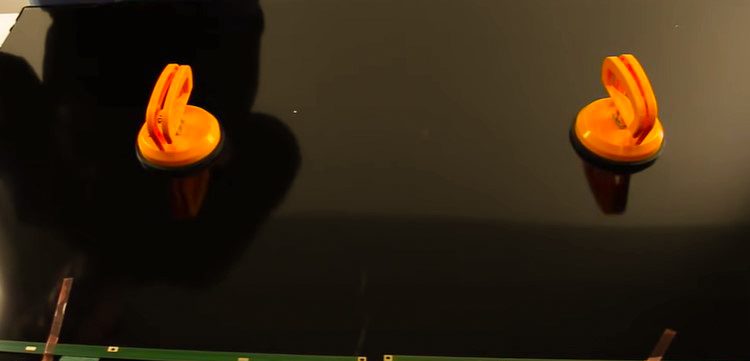
As the name suggests, “backlights” are the light sources to our TV screen; no light source results in no viewable picture on the screen.Backlight damage is most likely caused due to problems in two essential components that make up the backlight: the Backlight Driver Board/Powerboard or the actual Backlight strips.Do not worry; it is easier to fix than it looks. We will tackle each issue in an orderly fashion so that you can fix your TV without spending a lot of money.
Possible Causes of Backlight Failure
The backlights damage is caused due to the following possible reasons.
Backlight Failure Symptoms
TV turns on without any display of the picture.A Dim screen points to defective led backlights.A Flickering screen is a possibility for a dying led strip.Dark sections are caused by some LED bulbs turning defective.Light Spot sections occur when the lens of these LED bulbs falls off.A half dark screen point to one whole side of Backlights is failing.Light leaking from the TV’s edges indicates LED bulbs have moved inside the TV.
How to Fix Backlight on TV?
The Backlight issue only occurs in LED TVs as QLED and OLED TVs do not have backlights. LCD TVs used backlights made up of fluorescent bulbs, but their production has now been stopped as the technology is outdated.Things to Consider Before Testing & Repair
Firstly, please confirm the backlight issue. An easy way is to take a white light against the screen. If the graphics show when illuminated, the device has backlight failure.We recommend placing the TV on a soft mat with the screen facing down to prevent any scratches on the screen. Take plenty of pictures on each step to trace back and reassemble the TV after repairs.Put screws in cups and label them so that we do not lose them during reassembly.
Once the above considerations are factored in, open up the back cover of the device and start the testing & repair process.
Step 1: Test the Power Supply Board & Led Strips
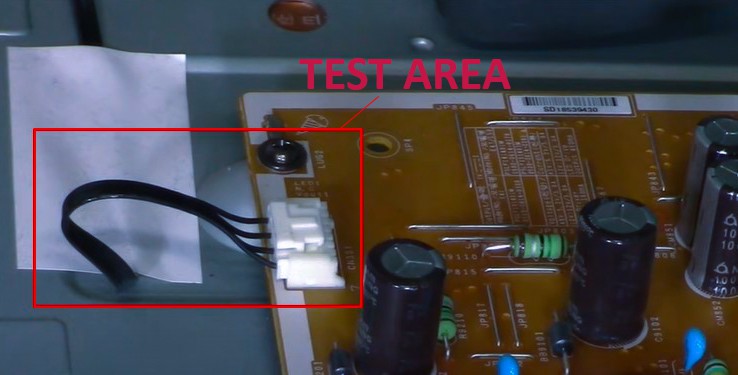
Most TVs feature the led driver on the powerboard itself, but some have a separate led driver board. Find the exact connection point where the backlight cable connects to the board.Things to Consider Regarding the Testing Area
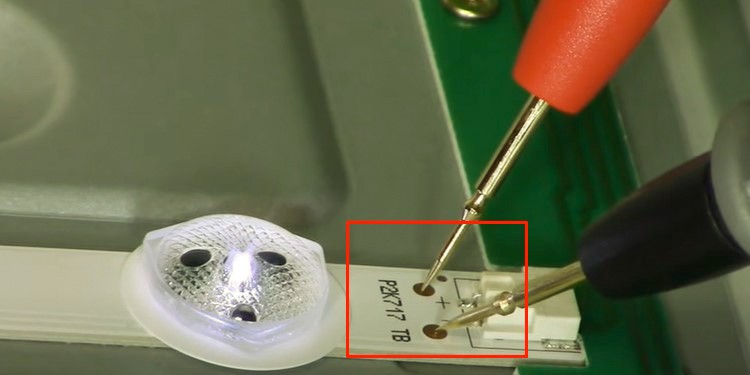
Every board has a small chart near the area where the backlight cable is connected with the board. The chart will describe the positive and negative points in the connection.Set your multimeter setting to DC Volts.When testing with a multimeter, follow the individual instruction given below strictly. Mistakes in placing lead wires might short circuit the connection points.The number of wires used to connect the backlight to the board will vary according to the number of backlight strips. These wires are connected in pairs, i.e., one positive and one negative point.
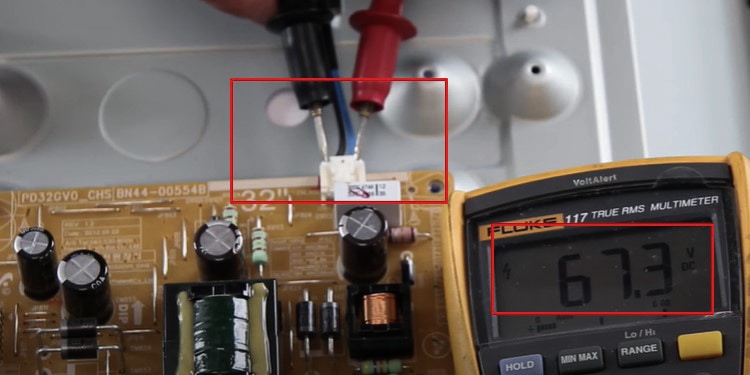
Start testing the Connection Points
Take Recommended Action According to Voltage Scenarios
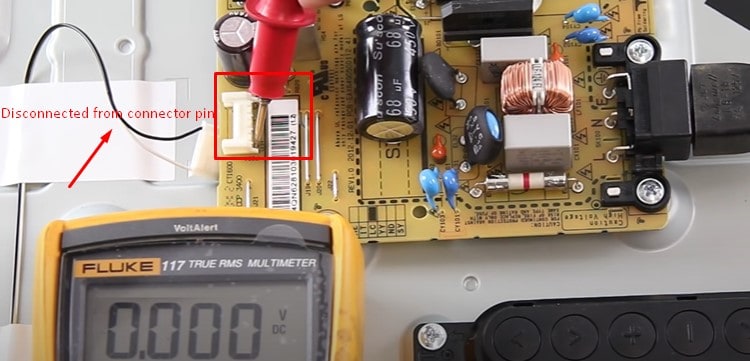
If the TV didn’t have a backlight issue, each connection point would show a voltage reading of around or less than 100 volts when the backlight is connected to the board. All connection points would show a similar reading without many fluctuations.If the voltage reading is above 100-120 volts, Zero or close to Zero, follow the recommended action stated in the scenarios listed below:
Step 2: Open the Rest of the TV
Follow the steps below if the backlight strip needs to be replaced. You do not need to open up the TV if the power supply board needs replacement.
Step 3: Change Backlight of the TV
If the Backlight strips require replacement, read through the considerations below and then proceed to replace them.Things to Consider Before Backlight Replacement
Change the whole set of strips or individual strips. We do not recommend changing singular bulbs as the replacement process is tedious and requires a heating plate.Always buy the LED Strips according to the Display panel number sticker on the back of the metal chassis of the TV. The manufacturer will specify if they are compatible with that display panel number.Remember, another brand might produce the Display panel. Always buy strips according to the brand specified in the display panel, not the TV brand.
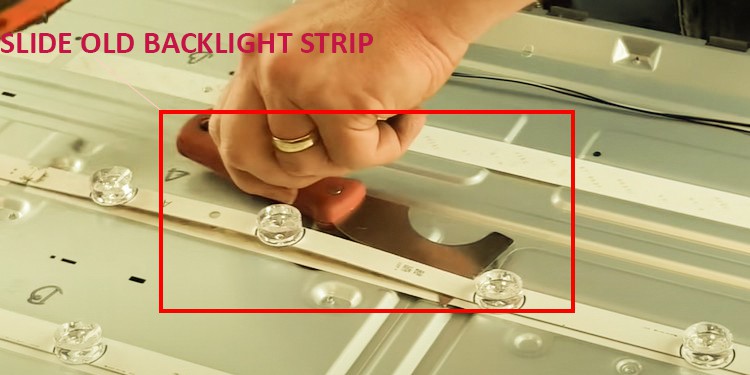
Remove Previous Installed Backlight Strips
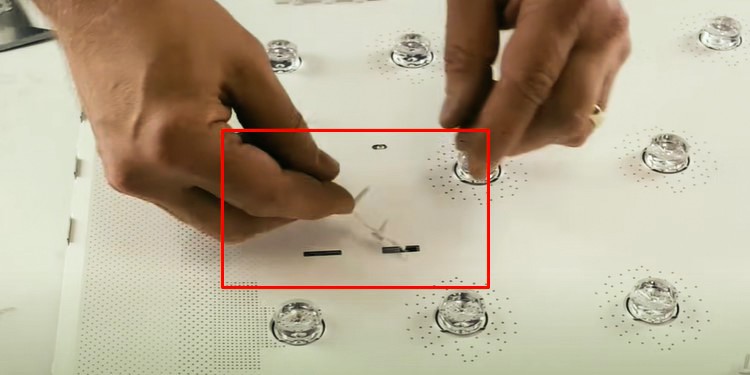
Install New Backlight LED Strips
Step 4: Reassemble the TV
Once the backlight strips have been replaced, we will need to reattach everything. Consider the following points while reassembling the TV.
Conclusion
Fixing backlights is possible with a DIY approach, but it does require basic knowledge of how current, wires, and multimeters work. If you have doubts, we do not recommend tampering with the TV. Backlight fixes are traditionally a job for professionals.
