This means the system always notifies the user which applications are using admin access. It also prevents harmful and unidentified software from making changes to your computer by alerting the user.So, we don’t recommend disabling the UAC. But, if you need to disable it due to emergencies, here’s how to do it.
How to Disable User Account Control (UAC)
There are several methods to disable the User Account Control. Windows provides various in-house options to disable UAC. But, you can also tweak your registry files to completely disable UAC and provide admin access to every running application.Here are some common ways to disable the User Account Control.
Disable User Account Control Using Control Panel
You can easily disable User Account Control from the control panel.
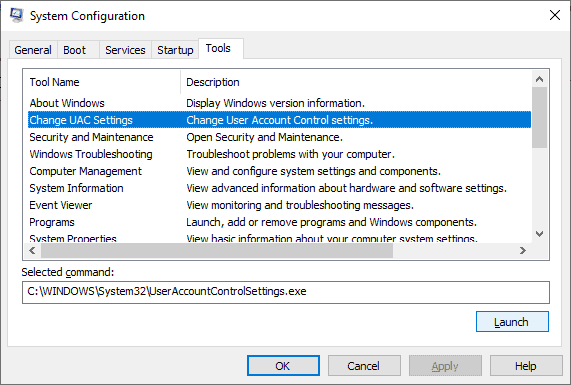
Using System Configuration
Disabling UAC from msconfig is similar to disabling it from the control panel. You can try this method if you can’t disable the UAC from the Control panel.
Using Group Policy Editor
Group Policy Editor is used to configure many important system settings, including disabling the UAC. However, the Local Group Policy Editor is unavailable in the Windows Home version. You can only use it in Pro and Enterprise versions of Windows.Follow the steps below to disable the UAC from the Group Policy Editor.
Using Registry Editor
You can also disable the UAC from the Registry Editor by altering your registry files. Furthermore, using the Registry Editor completely disables the UAC and gives admin access to every running application. Here’s how to disable your UAC using the Registry Editor.You can also change this registry setting using Command Prompt. You can simply copy and paste the command line.Follow the steps below to disable UAC from the Command Prompt.To re-enable your UAC from the Command prompt again, enter reg ADD HKLM\SOFTWARE\Microsoft\Windows\CurrentVersion\Policies\System /v EnableLUA /t REG_DWORD /d 1 /f command line in the Command prompt.


