Windows offers multiple ways to create bootable USBs, from native tools like Diskpart and official ones like the Media Creation Tool to popular third-party options like Rufus. Ultimately, these are all very straightforward to use, but certain methods will be better suited for certain cases. As such, we’ve detailed the steps for all three so that you can use the one best suited for your specific circumstances.
How to Create a Bootable USB
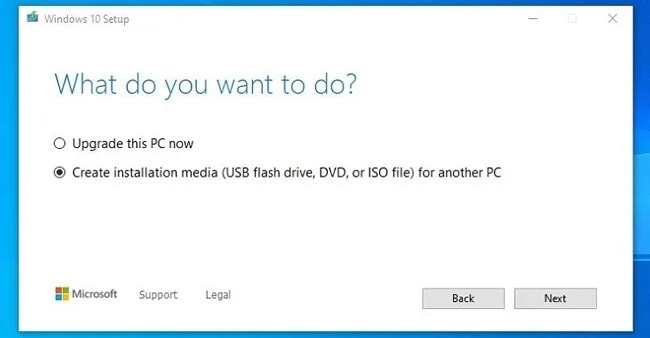
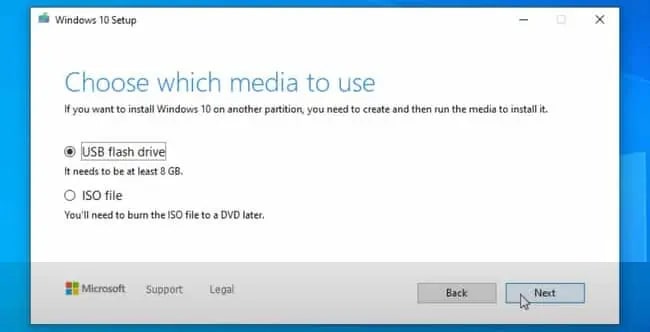
If you’re trying to create a bootable Windows USB on Windows, you can use the Media Creation Tool. This will flash the USB with the latest Windows version. In case you’re trying to use the ISO of a specific version, you can instead use Diskpart. And finally, if you want to create a bootable Linux or Mac USB in Windows, you can use Rufus. For Windows USBs, you’ll want an 8GB USB at the minimum, while the requirements for Linux will be lower depending on the distro.
Using Media Creation Tool
As the Media Creation Tool is very simple to use, we’ll discuss that first. Here are the steps to create a bootable USB with this tool:
Using Disk Management / Diskpart
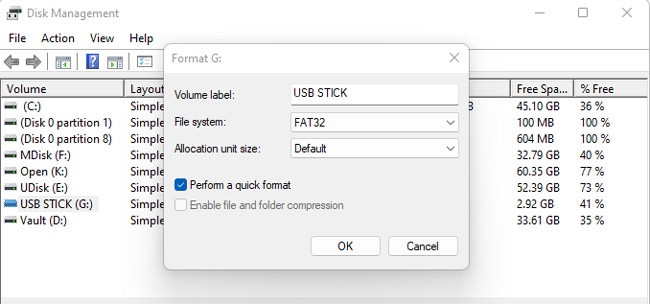
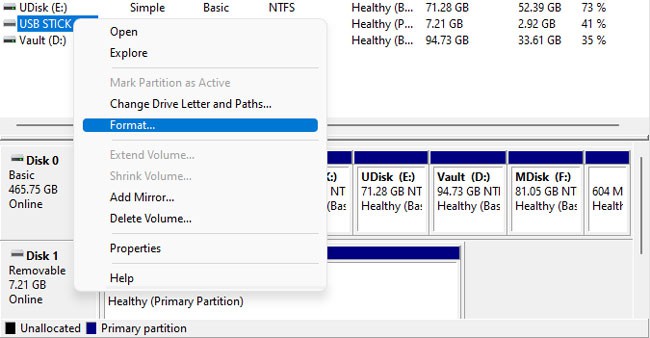
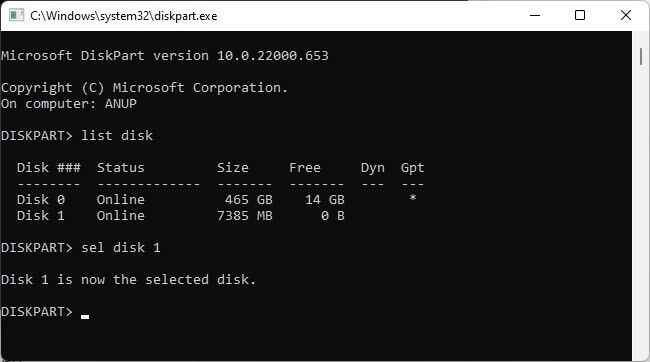
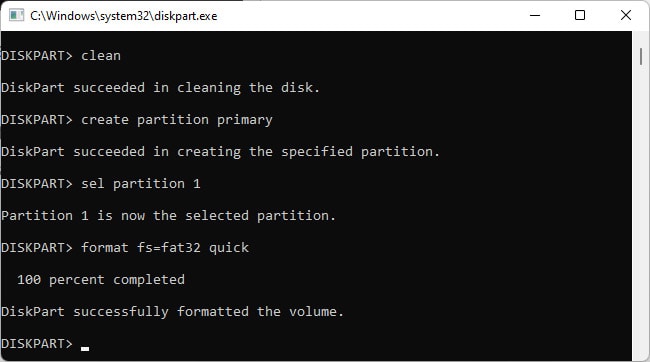
This method isn’t very popular, but it still has some use cases, such as when an internet connection is unavailable. Here’s how you can create a bootable USB using Disk Management:The Mark Partition as Active option won’t be accessible on GPT drives. In such cases, you can use diskpart to set the USB as active. Here are the steps for this:
Using Rufus
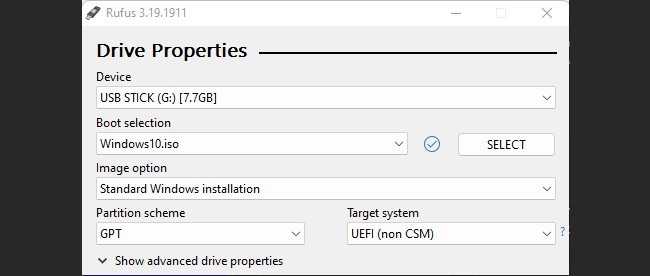
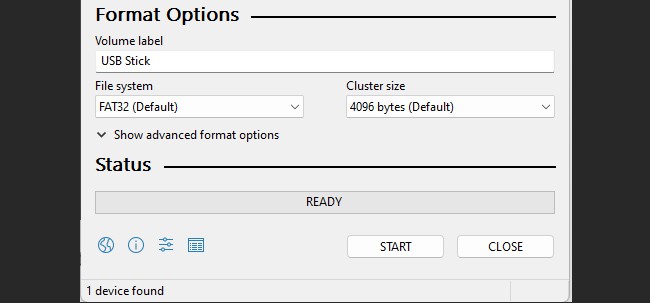
Rufus is an excellent third-party utility for creating bootable USB drives and Live USBs on Windows. Assuming you’ve downloaded Rufus, here are the steps to use it:
How to Create A Recovery Drive?
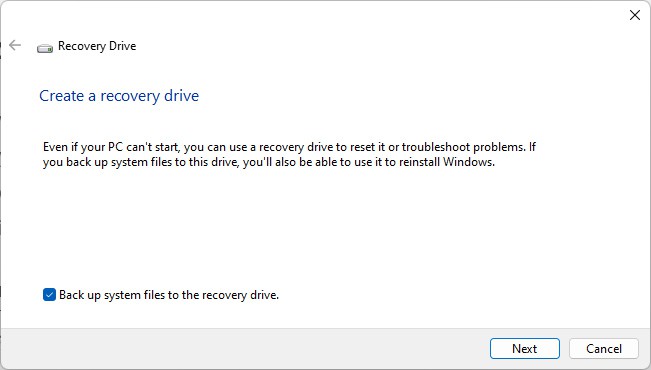
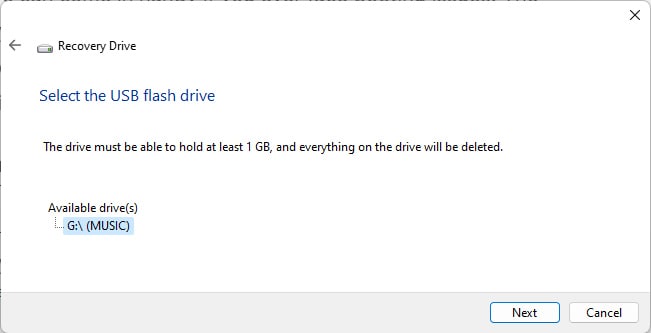
A Windows recovery drive can come in handy if you ever face booting issues. The recovery drive will allow you to access recovery options, which you can use to try and restore the system to a working state. If you back up system files to the drive, you can even use it to reinstall Windows.Microsoft recommends using a USB Drive that’s at least 16 GBs for this purpose. In some cases, you might need a USB with even higher capacity. With that said, here are the necessary steps:
