iDevices mainly use the HEIC format to save their storage space. As a matter of fact, HEIC images are almost half in size compared to JPG images, with almost identical image quality. Although this feels like a boon, HEIC formats are not supported by many devices, systems, applications, and websites. As a result, many users tend to go back to the classic JPG.So, here in this article, we shall learn about various methods to convert your HEIC image to JPG on a Mac computer. Continue till the end to understand how you can set your iDevice to click images directly in the JPG format as well.
How to Convert HEIC to JPG on Mac?
There are a few different ways to convert HEIC images to JPG on a Mac. All the methods listed below are super easy to follow, and most of these steps can help you carry out the entire process by only using the tools built into the macOS.
Through Context Menu
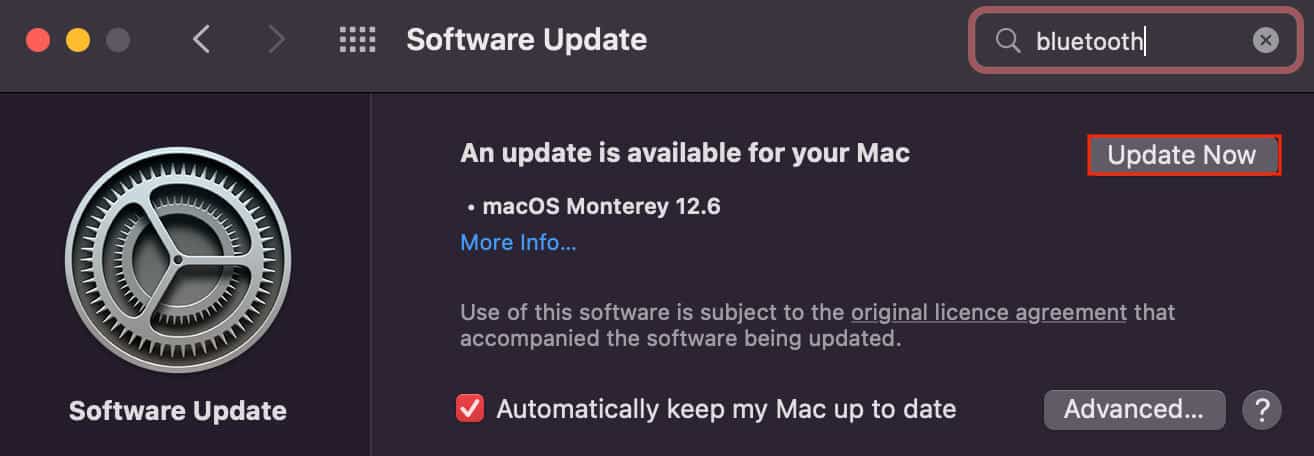
This method is useful only if you have upgraded your system to macOS Monterey. However, if you still use previous versions of the operating system, you’ll not be able to convert your images from the context menu. But, if you have system updates piled up on your computer, you can update your system by following these steps:Once you update to Monterey, follow these steps to convert your HEIC image to JPG:
Using Photos App
The Photos app comes prebuilt on your macOS. It’s the application that Apple uses to sync images between multiple iCloud devices. This app provides you with various options to modify an image’s properties, including the option to change its format.
Using Preview App
Preview is the default application that macOS uses to view/preview an image file. It comes with some minor image editing options, and you can export your images in various formats as well.
Using Automator Service
The Automator is a utility tool that comes built into your Mac computer. Through the Automator, you can add certain effective and noteworthy services/features to your system, improving the overall computing experience.To convert your image to JPG, you have to create a new service using the Automator, add this service to the context menu and convert the image from there. Here are the exact steps to do so:
Using Third-Party Applications
If the aforementioned methods were not too useful to you, you can also convert your images using third-party applications. Usually, we don’t recommend our users use such applications, as most of them could carry some form of virus/malware. However, in this case, applications such as Permute and iMazing HEIC Converter are known to return a satisfactory result.
How to Set Your iDevice to Save Images in JPG Format?
By default, an iDevice saves the captured images in HEIC format. That being said, you still have the option to set the image format to JPG right from the moment you click the picture. For this, you have to change the camera options and set the image format from ‘High Compression’ to ‘Most Compatible.’ And here are the steps to do so: