Doing so is not that difficult and there are only a few things you need to care about during the process. In this article, we discuss all these matters and provide you with a detailed guide to clean install Windows 10 on your PC.
How to Do a Clean Install of Windows 10
There are a few things you need to keep in mind before performing a clean install of Windows 10, which include:
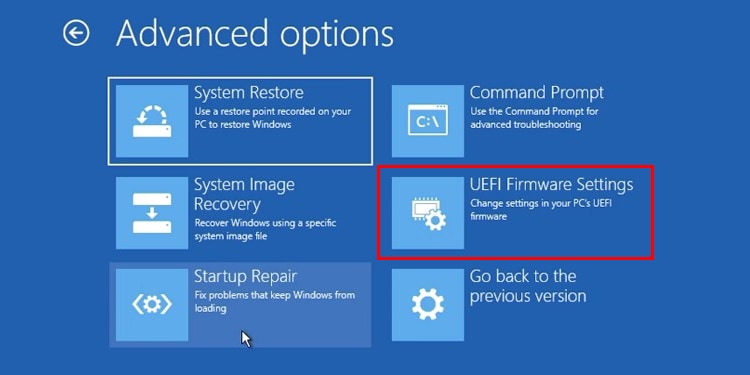
It’s better to disable Secure Boot and Fast Boot in your BIOS/UEFI during the process as some motherboards don’t allow you to boot using an installation media if these options are On.You need to disconnect the internet (through Ethernet) while undergoing the setup process if you want to create a local account. If the computer has internet access, it will force you to create or use a Microsoft account.Clean installing Windows 10 will delete all the data in all of your partitions, so make sure to backup any necessary files or folders.
Now, you can follow the step-by-step guide below to perform a clean install of Windows 10.
Step 1: Create Installation Media
The first step is to create a Windows 10 installation media. You can either use a third-party app or use one of the following built-in methods to do so.
Using Media Creation Tool
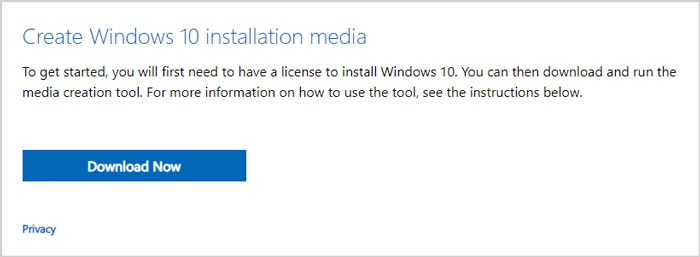
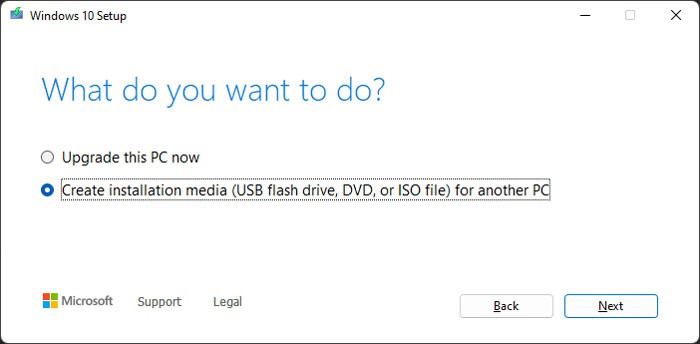
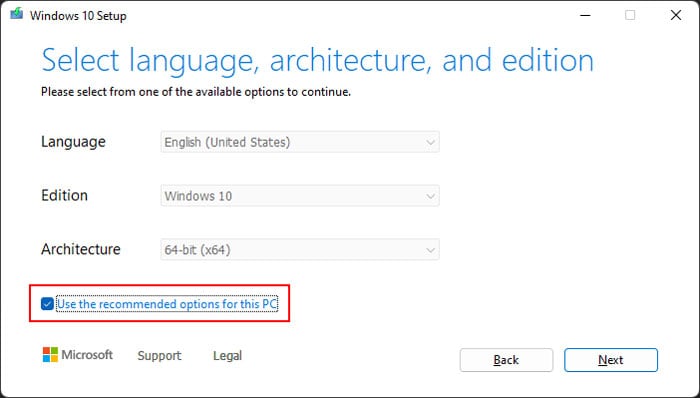
If you don’t have an ISO file for Windows 10, it’s better to use the Media Creation Tool to create its installation media. Here’s how you can do so:
Using Diskpart
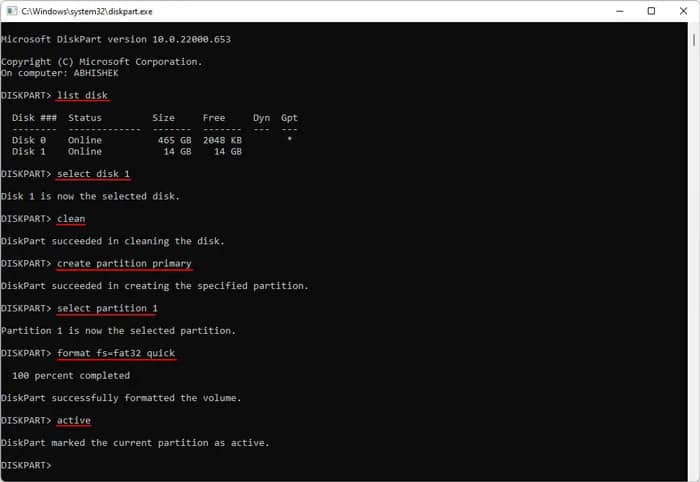
If you already have an ISO file for Windows 10, the easiest method to create the installation media is to use the Diskpart command line interface (CLI). Here’s what you need to do:
Step 2: Boot Using the Installation Media
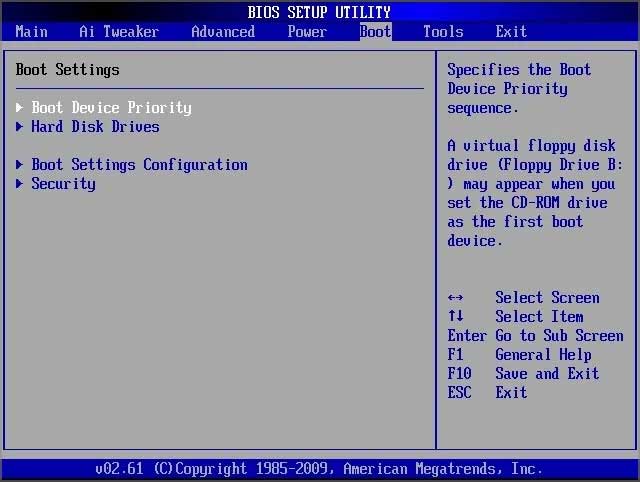
After creating the USB installation media, you need to configure your boot priority on BIOS/UEFI and boot using this media. Here’s what you need to do:
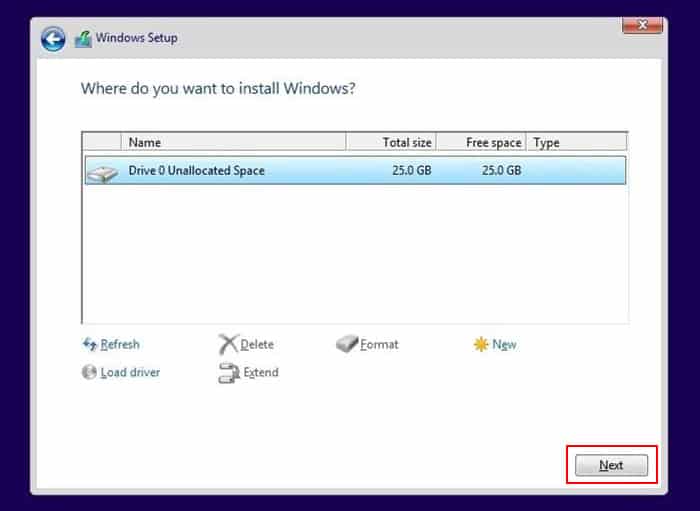
Step 3: Clean Install Windows 10
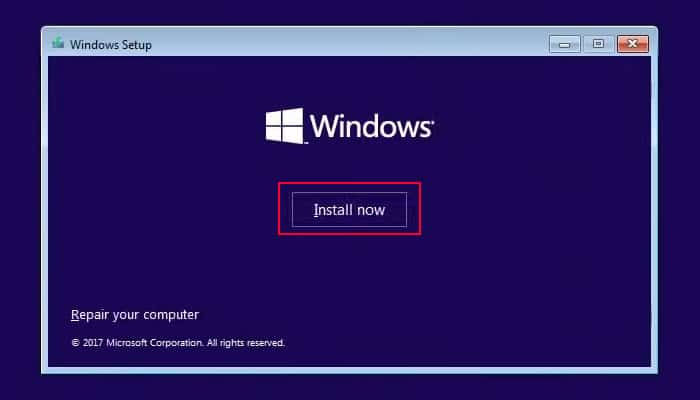
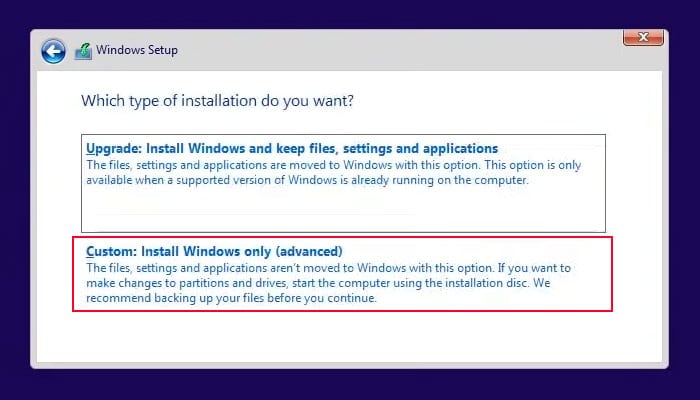
Now, follow the steps below to clean install Windows 10:
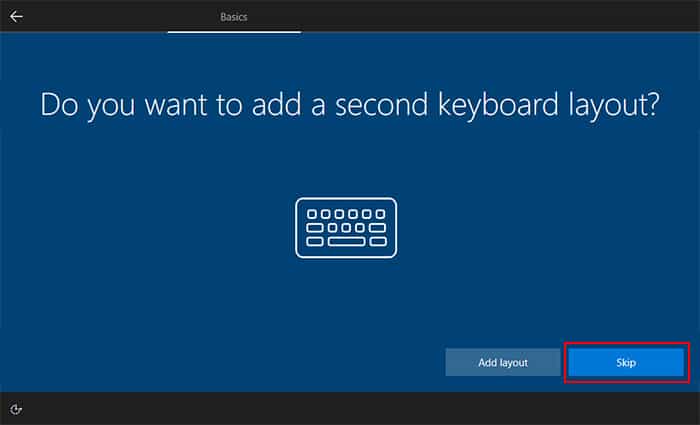
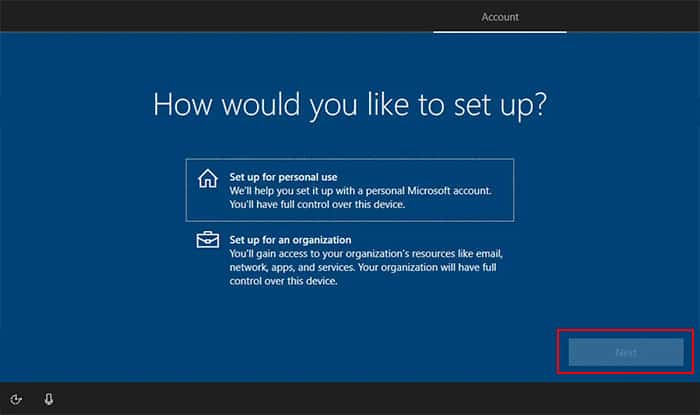
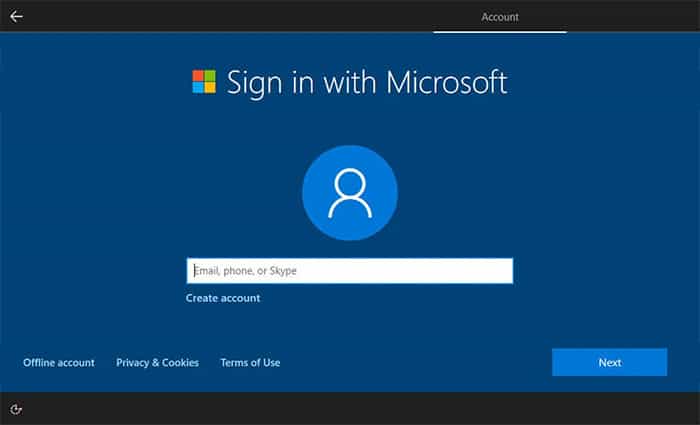
Step 4: Finalizing the Installation
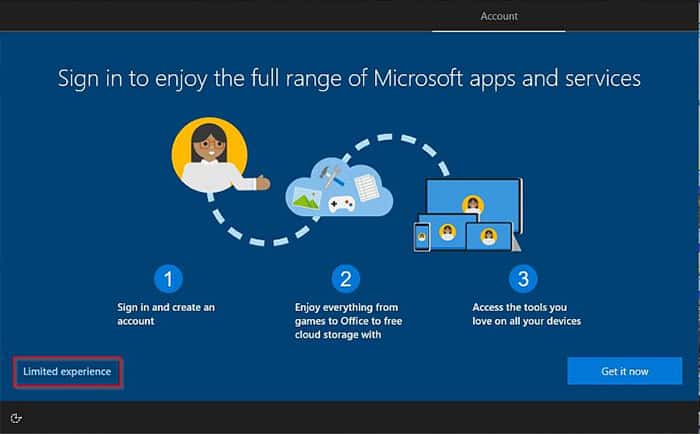
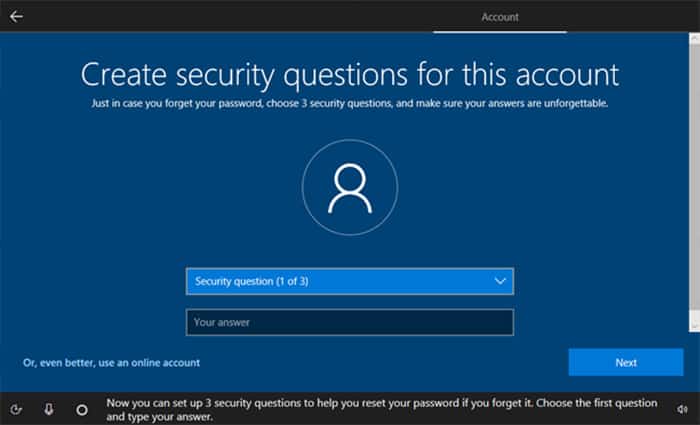
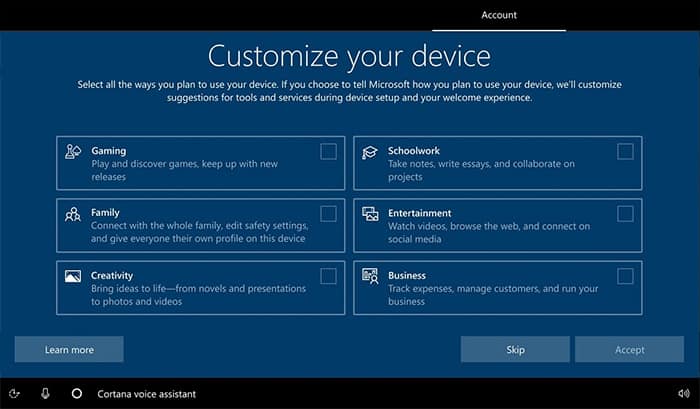
After the reboot, Windows will start the initial setup. Here, you can force shut down your PC by pressing the power button for a few seconds or following the steps below to avoid setting the initial preferences if you want another user to use this computer:If you are setting up your PC for yourself, follow the instructions below instead:
Step 5: Install Updates, Drivers and Optimize Your PC
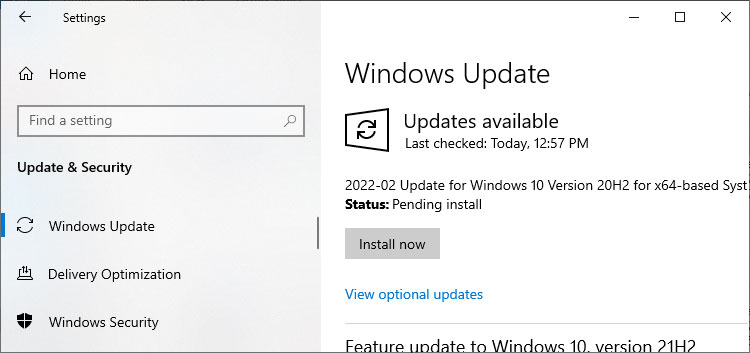
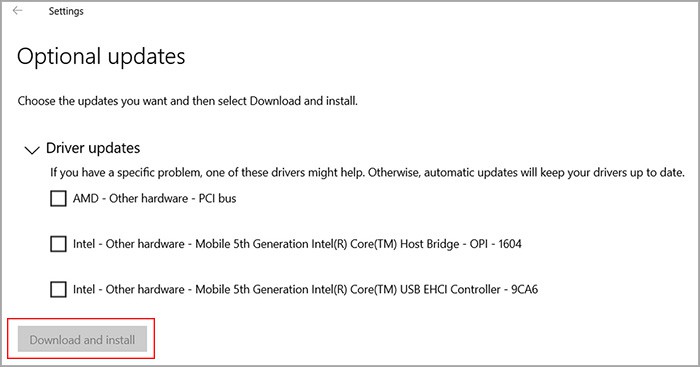
After setting up Windows, there are a few things you need to do, such as installing Windows Updates and drivers. Here’s what you need to do:Doing so may not install all your drivers. You need to go to the manufacturer’s website for your Processor and get to the Drivers and Support.
For AMD: Go to AMD Drivers and Support and click Download Now below Auto-Detect and Install Windows Driver Updates. Then, run the installer and follow the on-screen instructions.For Intel: Go to Intel Download Drivers & Software and select Get started > Download now. Then, run the installer and follow the instructions.
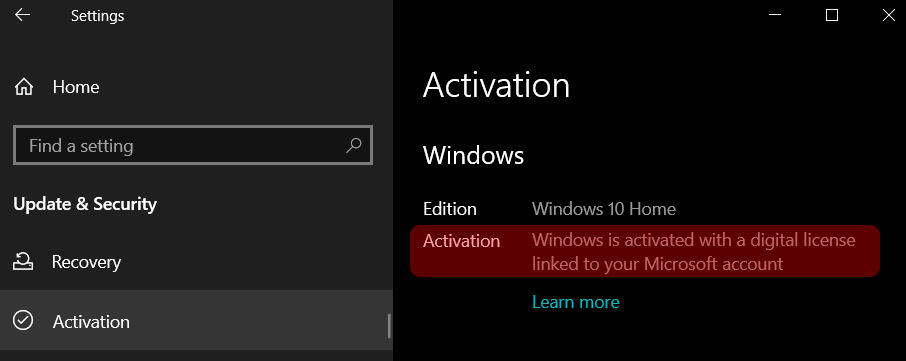
Then, if you use a dedicated GPU, you need to go to its official website and download the latest driver for the GPU.If you haven’t already activated your Windows, you can go to Settings > Update & Security > Activation and do that now.Then, we recommend you optimize your PC for user experience and performance by following our guide on How to Optimize Windows.
