If you attempt to load the kernel extension (KEXT) without approval, you’ll encounter the VirtualBox Kernel Driver Not Installed error message. While this usually happens during the first launch after installation, the error can also occur at later points due to unsigned modules and similar issues. The same is true for Linux systems as well.
What’s Causing the VirtualBox Kernel Driver Not Installed Error?
How to Fix This Error on Mac?
First of all, please note that VirtualBox only works on Intel Macs as it isn’t yet ported to M1 macs. Another thing worth mentioning is that numerous users were able to resolve this error by switching to a different version of VirtualBox and installing the extension packs.As such, before you start troubleshooting, we recommend either using the latest VirtualBox version or reverting to an older stable build, as that could easily fix the error.
Allow Module to Load
In most cases, allowing the kernel module to load is all that’s needed to fix this error. Here are the necessary steps for this:If the GUI method isn’t working, enter the following command into the terminal to restart the startup service for loading the kernel module and try once more:sudo /Library/Application\ Support/VirtualBox/LaunchDaemons/VirtualBoxStartup.sh restartAdditionally, you can also try registering the VirtualBox kernel extension directly via the terminal, as this fixed this error for some users. Here is the necessary command for this:sudo kmutil load -p ‘/Library/Application Support/VirtualBox/VBoxDrv.kext’As before, allow the kernel to load via System Preferences and reboot, then check if VirtualBox works. If the error still persists, you can instead try adding Oracle’s developer ID to the security assessment policy. You’re basically approving that the kernel extension can load but via the terminal this time.
Clean Reinstall VirtualBox
As stated, reinstalling VirtualBox has been an effective fix for numerous users. Here are the steps for a clean reinstall:
Disable Secure Boot
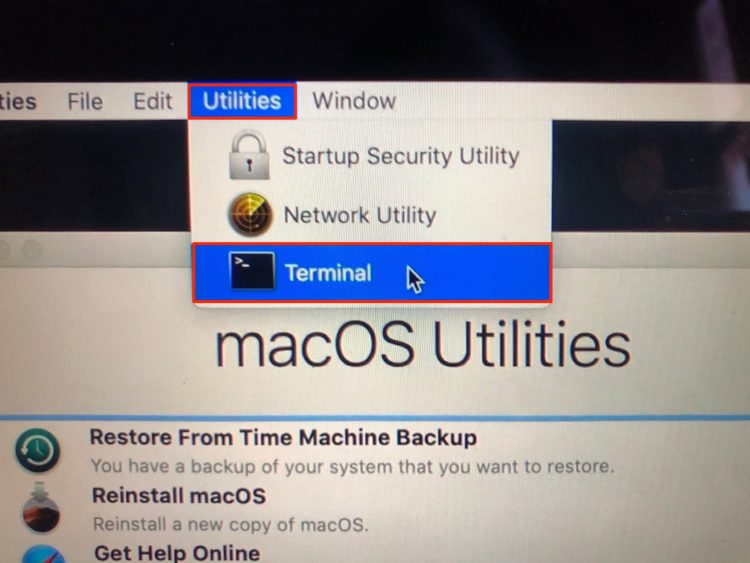
Secure Boot is known to sometimes interfere with trusted programs due to problems with the digital signature. You can try briefly disabling this to ensure it’s not causing the error. Here are the steps to do so:
Clear Kext Cache
You can use the sudo kextcache – clear-staging command to clear the kernel extension cache and potentially resolve this error. If the command doesn’t help initially, here are some further steps you can take:
Change Kernel Extension Flag
Some users have also reported cases where the restricted flag was not set against KernelExtensionManagement. This affected how SIP interacted with the directory and ultimately led to the VirtualBox Kernel Driver Not Installed error. Here’s how you resolve this error in such cases:
How to Fix This Error on Linux?
The fixes listed below are intended for Debian-based distros, but you can slightly modify and apply them to most other distros as well.
Resolve VBox Kernel Module Issues
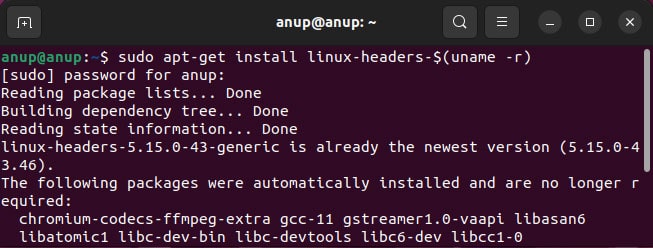
The following steps will help resolve a number of potential issues with the VirtualBox kernel module that could be causing this error:
Change GCC Version
There’s a common issue where the VirtualBox Kernel Module doesn’t load because the kernel doesn’t match with the GCC version used to compile the module. In such cases, you must use the same compiler used to build the kernel.For instance, to change the GCC version to GCC 8, you would take the following steps:
Fix Module Signature Issues
DKMS modules are generally configured at installation to work with Secure Boot. But if there are module signature issues, the module won’t be allowed to load. You can easily confirm this by temporarily disabling Secure Boot. Here are the steps to do so on Ubuntu:If you’re uncomfortable with disabling secure boot, the second way to fix the module signature issue is by signing the modules yourself. Here’s how you can do this:If you’re having difficulty manually signing the VirtualBox Kernel Modules, there are some excellent guides on this on GitHub and the Ubuntu blog.


