This problem (glitch) within your Mac’s Bluetooth module is usually caused by its corrupted properties files. Deleting these corrupted files should be the likely solution to fix your problem. But if not, there are a ton of other fixes that can be equally important when fixing a misconfigured Bluetooth.
Why is Bluetooth Not Working on My Mac?
How to Fix Bluetooth Not Working on MacBook
To fix this problem of the Bluetooth failing to work on your macbook, we shall work to fix any corruptions within the module with the steps listed below.
Make Sure Your Device Has Enough Charge
Before you dive into the fixes, make sure that the device you’re trying to connect has enough battery charge. That is, if your wireless device is about to die, it won’t pair with your system and might return the idea that Bluetooth is not working entirely.So first, fully charge the device and ensure that the battery on your external device has not died out completely.
Restart and Retry
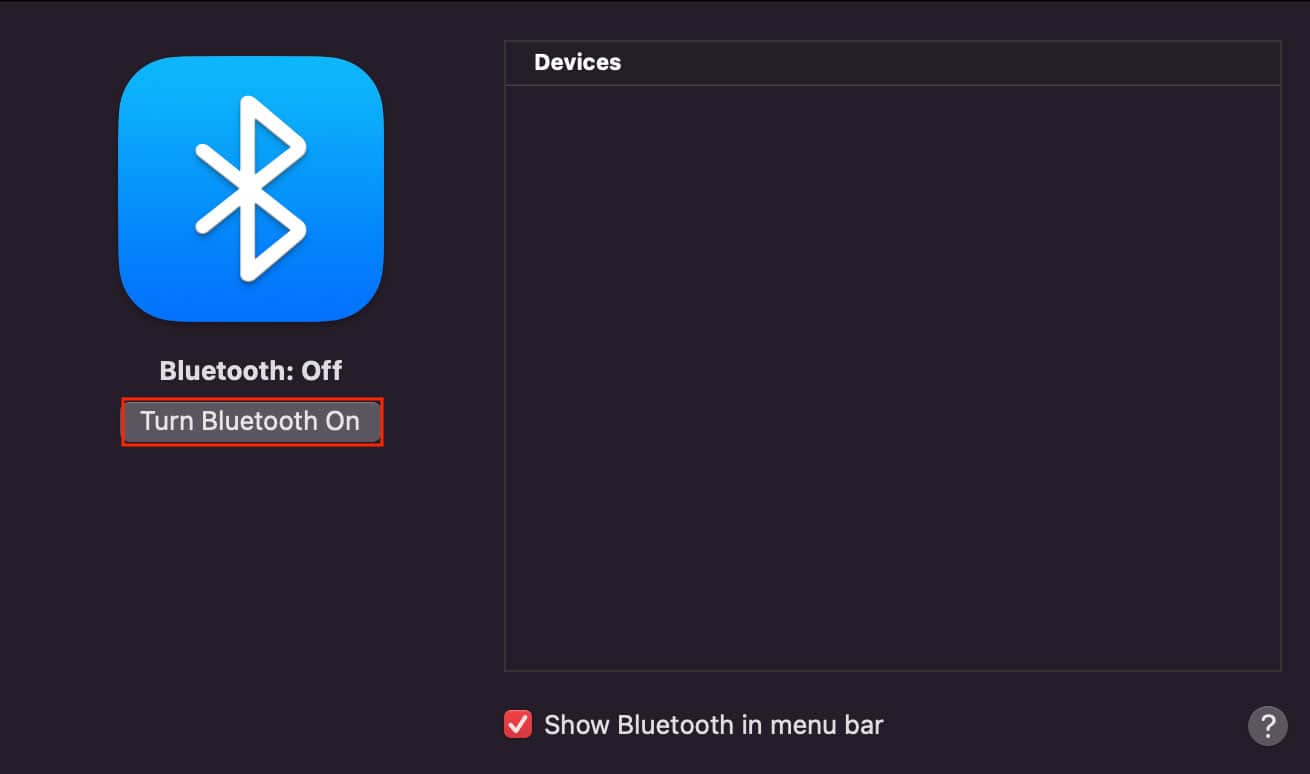
Sometimes, restarting your computer and also the Bluetooth module tends to fix the problem. That’s because this issue you’re facing might be nothing more than a simple session error. So, try restarting your computer first and then proceed to restart Bluetooth.Follow this particular order:
Reset Bluetooth
Resetting your Bluetooth module reverts it back to default. That is, all the paired devices are automatically unpaired, and all the customized Bluetooth settings are cleared. After resetting Bluetooth, you have to reconnect all your external devices.Here’s how you reset your Bluetooth module:
Delete the Properties Files
The properties files (plist files) keep the configured user data and profile settings for a particular interface. The Bluetooth properties file includes a list of configurations saved in XML format.These plist files are known to get corrupted from time to time. And when that happens, deleting these files has been known to fix the problem. Furthermore, the plist files regenerate automatically. So, as soon as you reconnect your device using Bluetooth, new Bluetooth plist files are created again. For this,
Factory Reset Your Bluetooth Device
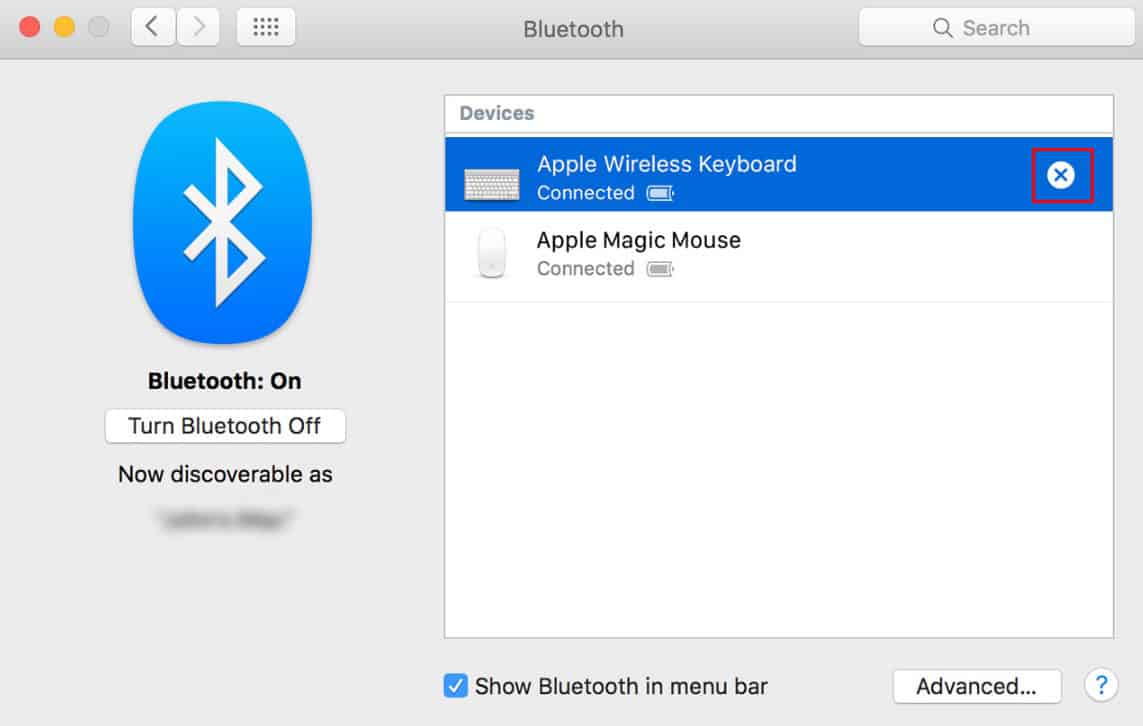
Another way to clear your Bluetooth data is to factory reset your wireless device entirely. However, keep in mind that resetting your device back to factory configurations tends to delete every data within the device.For e.g., your headphones and speakers have limited user settings. So, even after resetting these devices, you can easily return back to how they were before. But, devices such as your mobile phone and TVs have more data configured within them. So, performing a factory reset will revert all the connected devices back to the way when it was practically new.So, considering this here’s how to factory reset your connected device from your MacBook:
Reset Your Mac’s NVRAM/SMC
The NVRAM and SMC combine to control both the software and hardware part of your computer. Both of these components are very useful when it comes to the performance and stability of your computer. One can even extend this argument by saying that your Mac will fail to open, load up and perform the normal functions if the NVRAM and SMC got corrupted.SMC handles the hardware part, whereas NVRAM handles the software interface part of your Bluetooth module. So, every time the Bluetooth goes down or acts differently, you can reset the NVRAM and SMC, both of which should be done during the start-up process.The exact steps to reset NVRAM and SMC are different depending on whether your Mac has an M1 chip, T2 chip, or neither of them. So, we have made a dedicated article explaining how you can reset SMC/NVRAM in the most efficient way. Feel free to check it out.
Update macOS
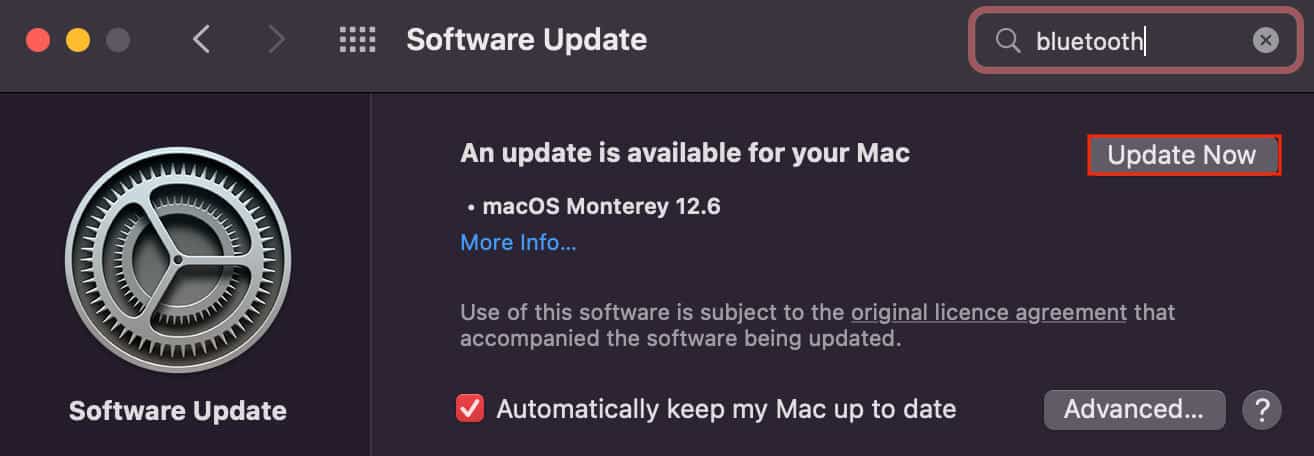
If none of the aforementioned methods seem to fix this issue for you, you can try and update your system to see where it leads. However, this step does have some logic behind it. The thing is, every time developers release new patches for the OS, they’ll incorporate new compatibility fixes and security updates.So, to fix this Bluetooth compatibility issue, you can update your system, and here are the steps to do so:


