Every USB accessory requires a particular amount of power to operate. Whenever you connect it to your system, the power flows from your computer to the USB drive. But if the drive isn’t getting a sufficient amount, it’ll fail to get recognized by your system, and hence you get the aforementioned error message.However, this error prompt also hints that another device might be drawing too much power from the system, and disconnecting it might fix your problem. But even if it doesn’t, there are several ways to solve this issue, and we’re going to talk about it all in this article.
Why Are the USB Accessories Disabled on My Mac?
How to Fix USB Accessories Disabled on Mac?
The first thing you can do when your USB is disabled on your computer is to restart your system. This will ensure that no session bugs or glitches influence the workflow of your disk drives. However, if doing so does not return a favorable outcome, follow all the methods shown below.
Make Sure There Are No Hardware Malfunctions
Whenever your USB device is not working properly on a Mac, you have to make sure there are no hardware malfunctions, to begin with. That’s because when your device fails to get recognized by the system, it can return a “USB Accessories Disabled” prompt.So, to tackle this issue, you can disconnect and reconnect your USB device again, but this time with different adapters and cables (if possible). Some USBs have a dedicated power key on top of it to power the device. If that’s the case, don’t forget to do so.Also, a Mac’s USB port is known to wear and tear after a long operation. Therefore, connecting your USB disk to a different port can very well fix your problem. And to make sure that the problem is not within the drive itself, connect it to a different PC and note how it operates there.
Unplug Unnecessary Peripherals
Since one of the main reasons for this error is insufficient to power being delivered to the related USB device, you have to unplug the ones that are taking up the most power. Luckily for us, macOS has a feature that lets you determine which USB port is drawing up too much current.
Experiment With Hubs
Most Mac computers these days don’t have the traditional USB ports present on their side panel. So, naturally, one might rely on USB hubs to connect the drive to their computer. However, if that’s the case for you, try to use self-powered hubs to connect your USB device.Self-powered hubs have their own dedicated power supply. So, it doesn’t make it a necessity for the USB device to draw power from the system. However, make sure that the hubs are connected to a power adapter.But if this error pops up while connecting the hub to your system, unplug it and directly connect the related device to the computer. Experiment with hubs and see if it fixes your issue.
Reset SMC
The SMC controls certain hardware components and their functionalities on your system. So, whenever these physical components don’t respond, you can reset the SMC and see how that works for you.However, the exact way to do so is different for different Mac computers. So, depending on whether you have Intel or Apple Silicon Mac, follow the steps shown below:
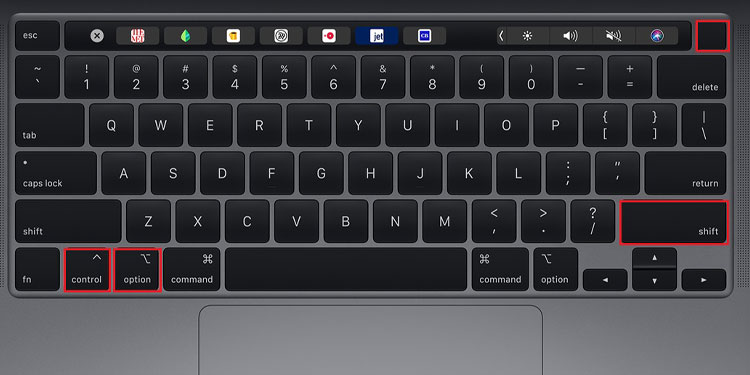
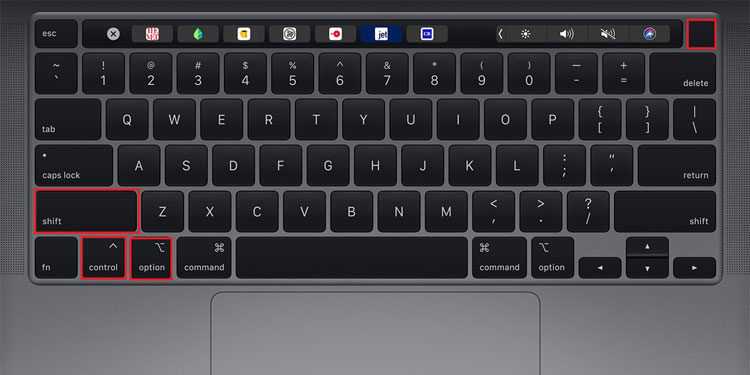
On Macs
On M1 Macs
On Macs With Other Chips
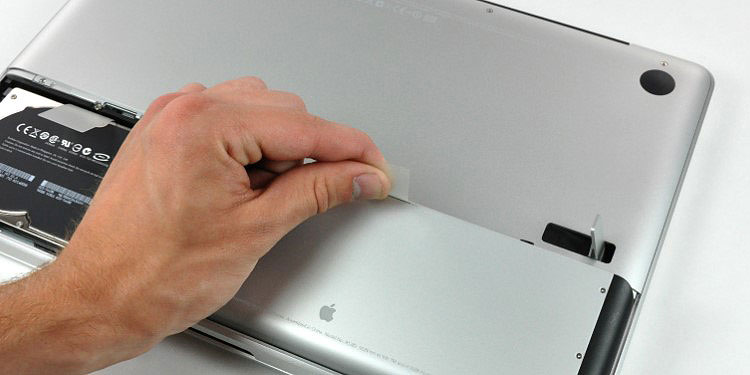
On Macbooks That Have Removable Battery
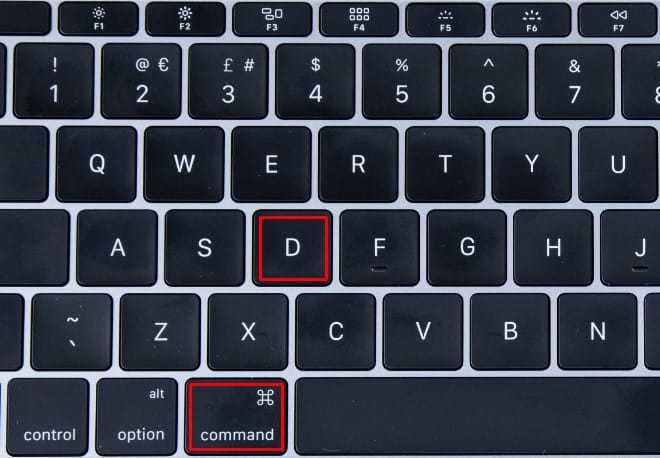
Reset NVRAM
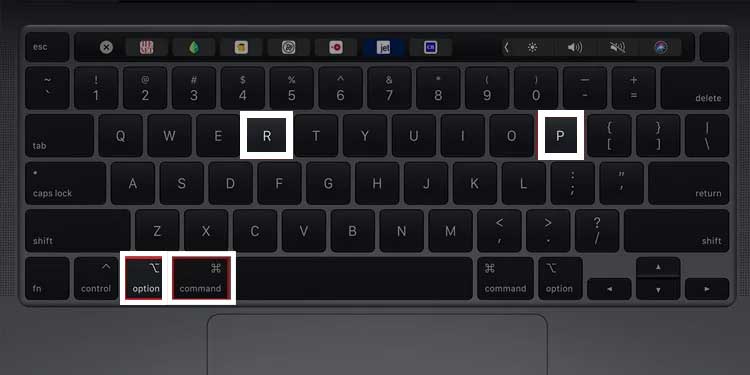
Like the SMC, the NVRAM is also an important part of your Mac. But unlike the former, NVRAM controls the software aspect of your system. It works to make sure that the interfaces are working to their full capacity and ensures that clear communication with the OS remains intact.Corrupted NVRAM data often leads to compatibility issues and errors. Resetting the NVRAM can fix the problem, but the process should be carried out during the system start-up.For M1 Macs, the process to do so is as simple as restarting your computer. But for Intel-based Macs, follow the steps shown below.
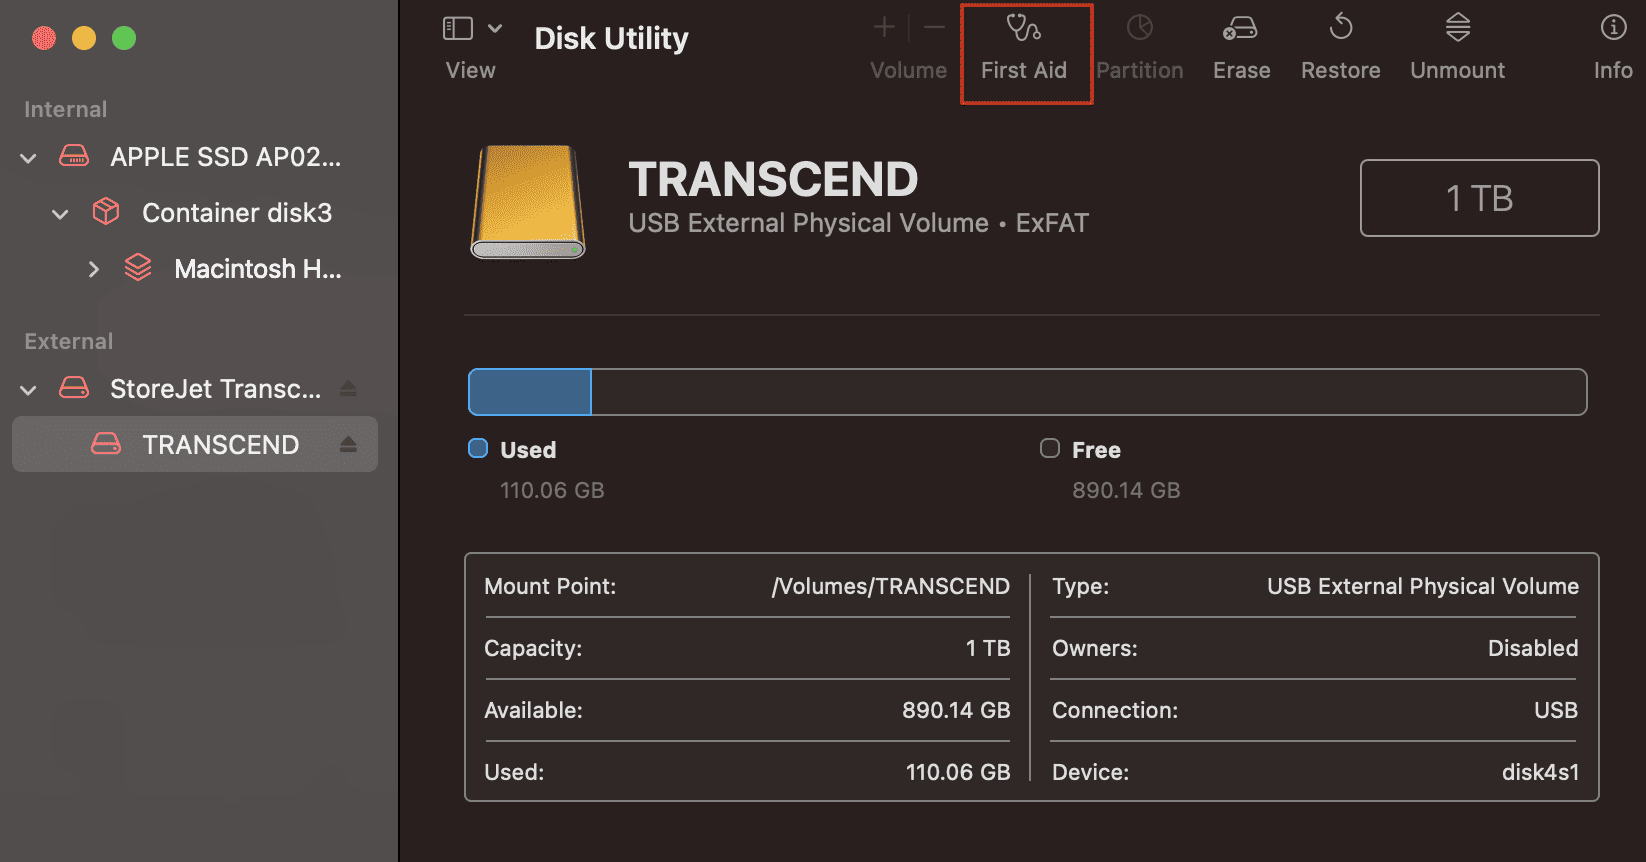
Perform First Aid
The First Aid feature on the macOS is designed to identify and fix disk drive issues on your computer. So, if you plug in your USB drive and perform First Aid on it, you could fix the error you’re facing.It can be accessed through Disk Utility, and here’s how you run the test:
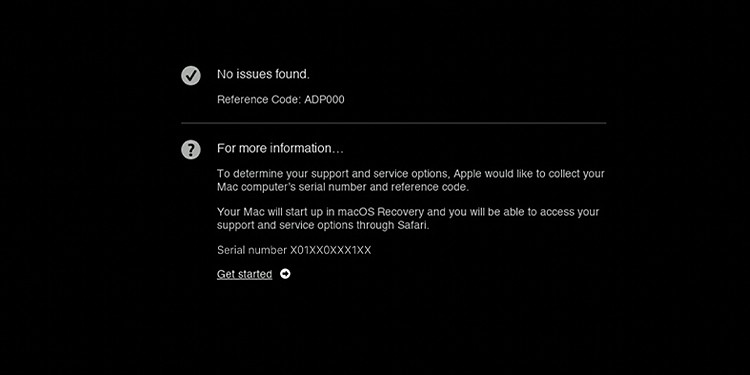
Troubleshoot With the Apple Diagnostics Tool
Like the First Aid feature, the Apple Diagnostics tool also scans for and aims to find any underlying hardware issues that might be present on your system. However, this tool does not fix this issue but rather returns you a list of errors present on your computer, along with their own dedicated reference codes.The Apple Diagnostics tool should also be accessed during system startup and the exact method to do so is different for different computers.
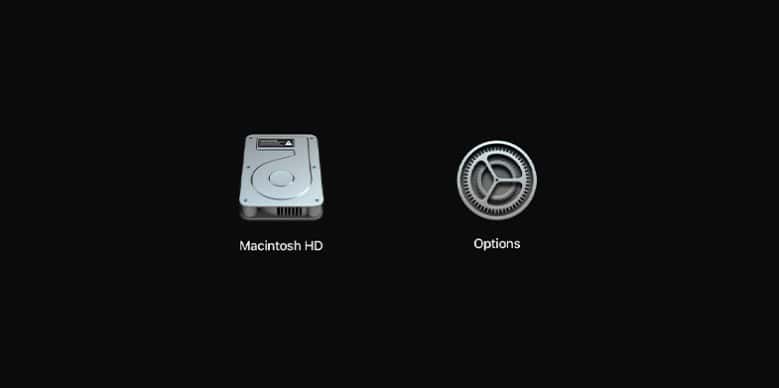
On Intel Macs
On Apple Silicon Macs
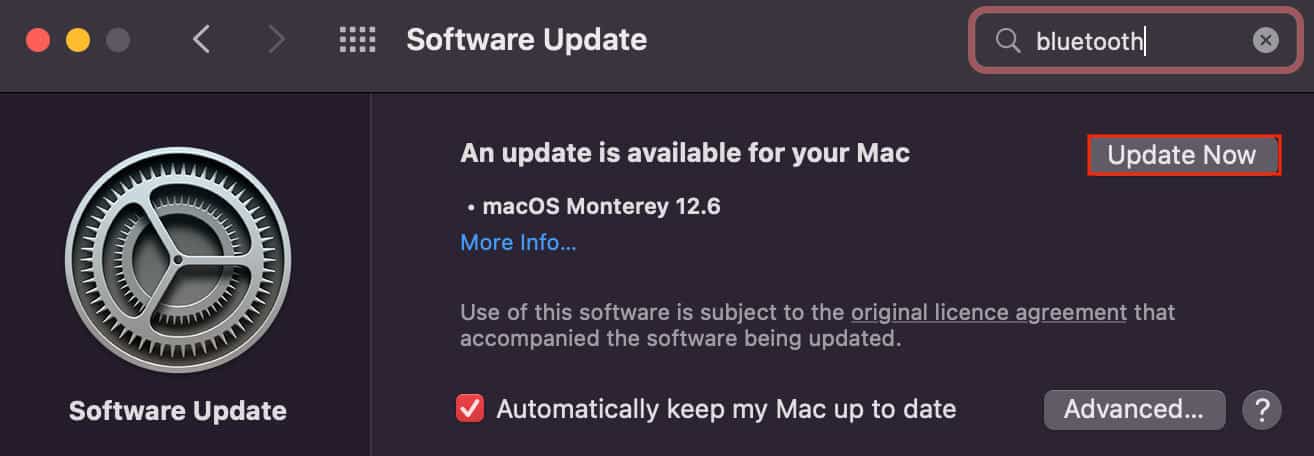
Update macOS
To patch your system with new compatibility and stability fixes, you can update the system software. macOS releases these new updates on a timely basis. But if you have repeatedly ignored these upgrade prompts in the past or if fresh upgrades are currently available, we recommend you do so immediately.