You can use this tool if you encounter any memory or other issues in your system.So, without further ado, let’s move on to how you can open and use this troubleshooting app.
How to Open Windows Memory Diagnostic Troubleshooting App
There are a few ways to open the Windows Memory Diagnostic troubleshooting app. You can pick one according to your preference.
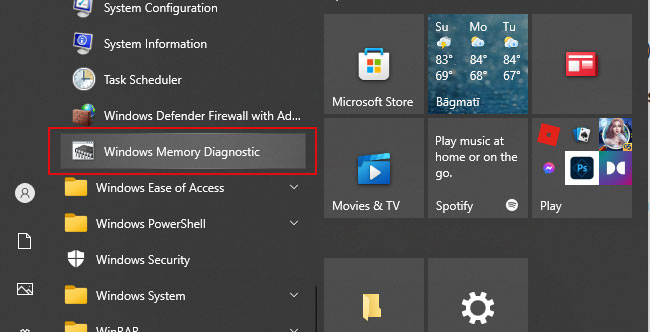
From the Start Menu
Using the Start Menu is the easiest way of opening any applications on your PC. Here’s how you can use it to run Windows Memory Diagnostic:You can also search for it on the search bar or by typing its name when the Start menu is active.
Through Command-line Interface
You can also use the Command-line Interface tools to open the Memory Diagnostic app. You need the mdsched command to run this tool, and you can enter it in the following interfaces:
Run tool (Win + R)Command Prompt (cmd on Run)Windows PowerShell (powershell on Run)Task Manager (Ctrl + Shift + Esc) > File > Run new task
You can also access Command Prompt from the WinRE and run this tool.
From the Control Panel
If you’re used to managing and diagnosing your system with the Control Panel, you can use it to load the Diagnostic app. To do so,
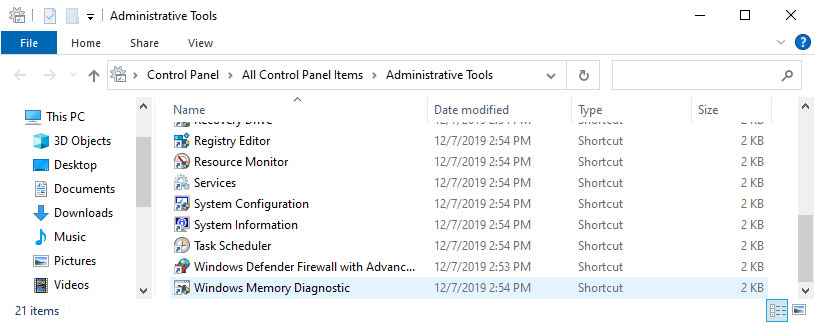
Through the File Explorer
You can also open the executable file for the Memory Diagnostic from your local drive. Follow the instructions below to do so:
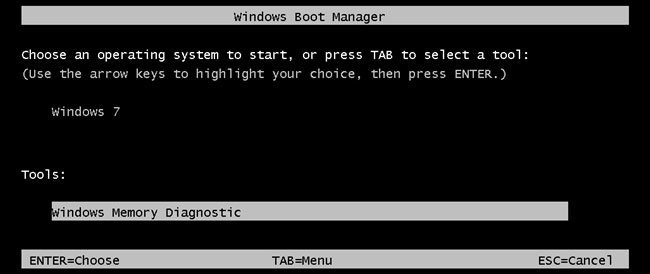
From the Boot Manager
It is also possible to run the Memory Diagnostic app from Windows Boot Manager. But you’ll have to enable the Boot Manager first. To do so,After enabling it, restart your PC and press the relevant key to load the Boot Manager. Or it will load automatically after a crash or hard reset.On the Bootmgr window, highlight Windows Memory Diagnostic by pressing Tab and press Enter.
How to Use Windows Memory Diagnostic Troubleshooting App
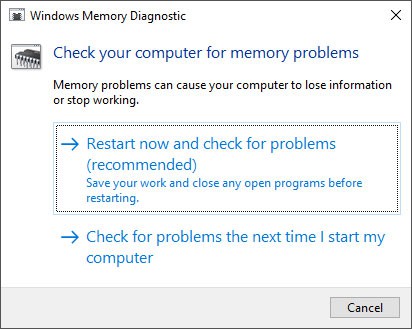
After opening the Windows Memory Diagnostic app, you’ll see two options:
Restart now and check for problems.Check for problems the next time I start my computer.
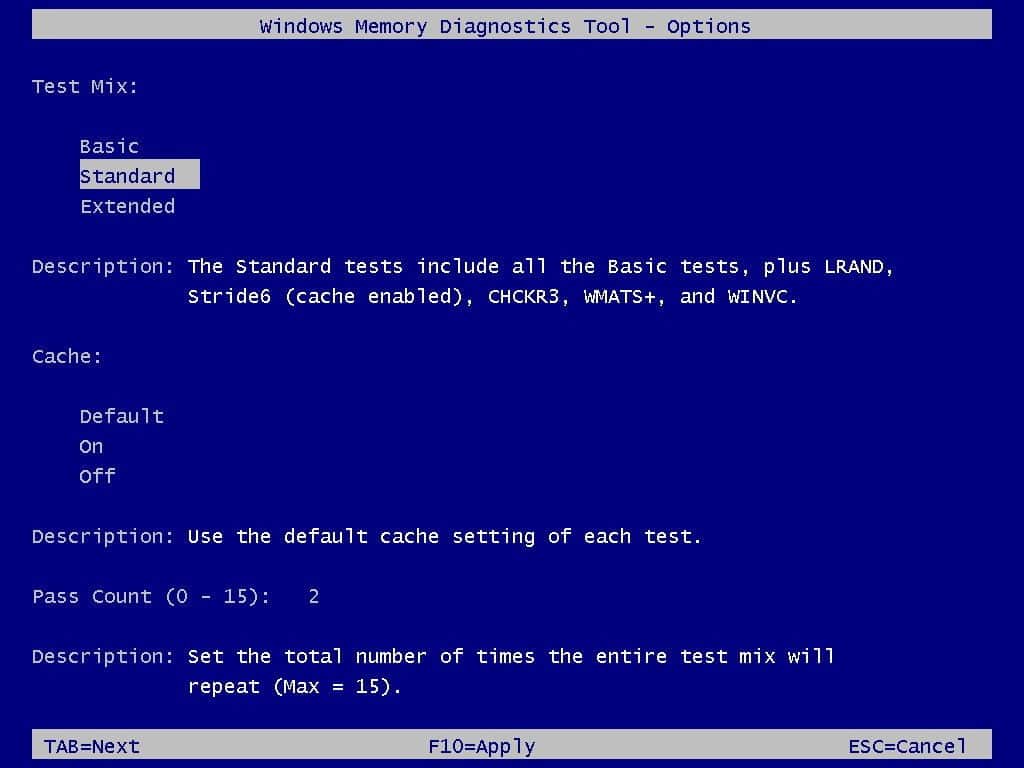
Choosing the second option won’t work in some cases. So, we recommend you pick the first choice.The program runs automatically after the reboot. You’ll see a progress bar and the status message on the Diagnostic screen.You can also access and change its configuration by pressing the F1 key. Also, use the Tab and direction keys to navigate the interface. The settings you can modify are:
Test Mix: Choose between Basic, Standard, and Extended. You can see what the relevant option does from the Description section.Cache: Choose if the tool can access RAM directly. Set Cache as Off to do so.Pass Count: Set the number of times the test repeats.
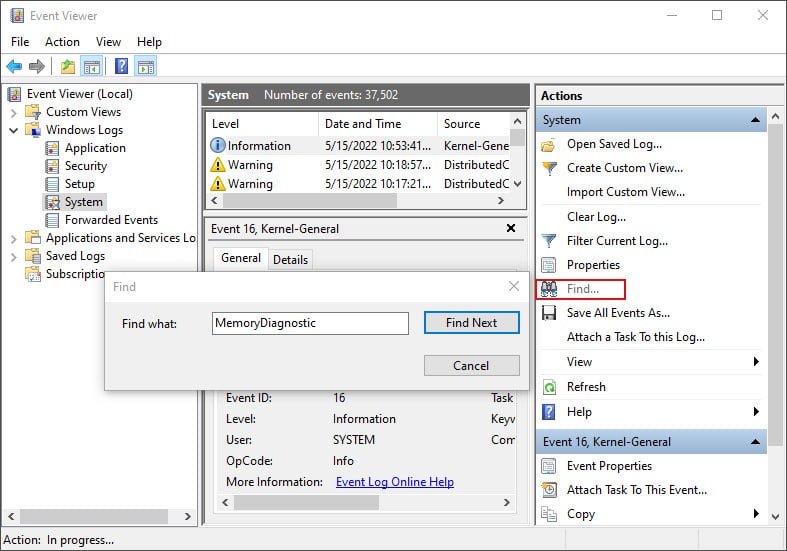
After changing the settings, press F10 to apply them or Esc to cancel.The test will take a long time. So you can leave your computer and do something else. After the test finishes, it will restart your PC and display the results. The results message will only stay for a short time. But even if you miss it, you can find it in your event logs. To search and read the records,Then, select the Event log and check its description.If you see any errors, your RAM stick or motherboard slot has some issues. You can determine the defective hardware if you test the sticks on separate slots.Regardless, it’s best to take your device to a hardware expert for this process. And you can also have them repair or replace the device if necessary.
Windows Memory Diagnostic Troubleshooting App Stuck
The memory testing process is very lengthy. And it usually gets stuck on certain points for hours. It is the usual behavior, so you need to be patient.However, if the progress halts for 10+ hours, there are obviously some problems. In such cases, hard reset your PC to get out of the Diagnostic screen. Then you can run the Diagnostic app in clean mode or try out other memory testing software.We also recommend using SFC and DISM to repair any potential system file corruption.
Run Windows Memory Diagnostic in Clean Boot
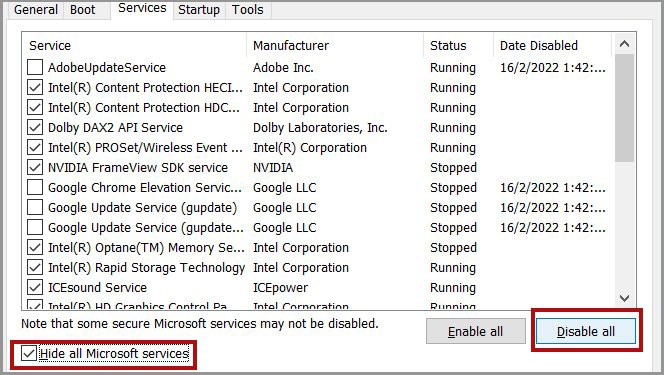
The Diagnostic app may get stuck due to some third-party processes. You can try running it in Clean Boot mode to avoid such issues. Here’s how you can do so:Restart your PC and run Windows Memory Diagnostic.
Use Alternative Memory Diagnostic Tools
There are many third-party memory diagnostic tools on the internet. Most of them are better than the default Windows Memory Diagnostic at testing the errors. Some reliable apps are MemTest64, MemTest86+, PassMark MemTest86, etc.You can use them as alternatives to the Windows Memory troubleshooting app.
Related Questions
How to Stop Windows Memory Diagnostic From Looping?
Sometimes your system will keep running Memory Diagnostic even after completing a test. It happens every time you boot your PC. You need to remove the task from the Task Scheduler to fix this. To do so,Now your system won’t run the app in the next reboot.
How to Fix Black Screen After Running Memory Diagnostic?
You can hard reset your PC and start it again to be able to log in to your PC. But it may affect your system files. So boot with a Windows installation media and login to your PC in safe mode. Then you need to remove the task from the Task Scheduler.If you still get a black screen every time you run the tool, it’s better to use alternative testing applications.
Why is the Windows Memory Diagnostic Result Not Showing?
The Windows Memory Diagnostic result only shows up for limited time. So you may have missed it. However, you can still view the result from the event viewer. We have explained how you can do so in the How to Use section.